Hi Guys,
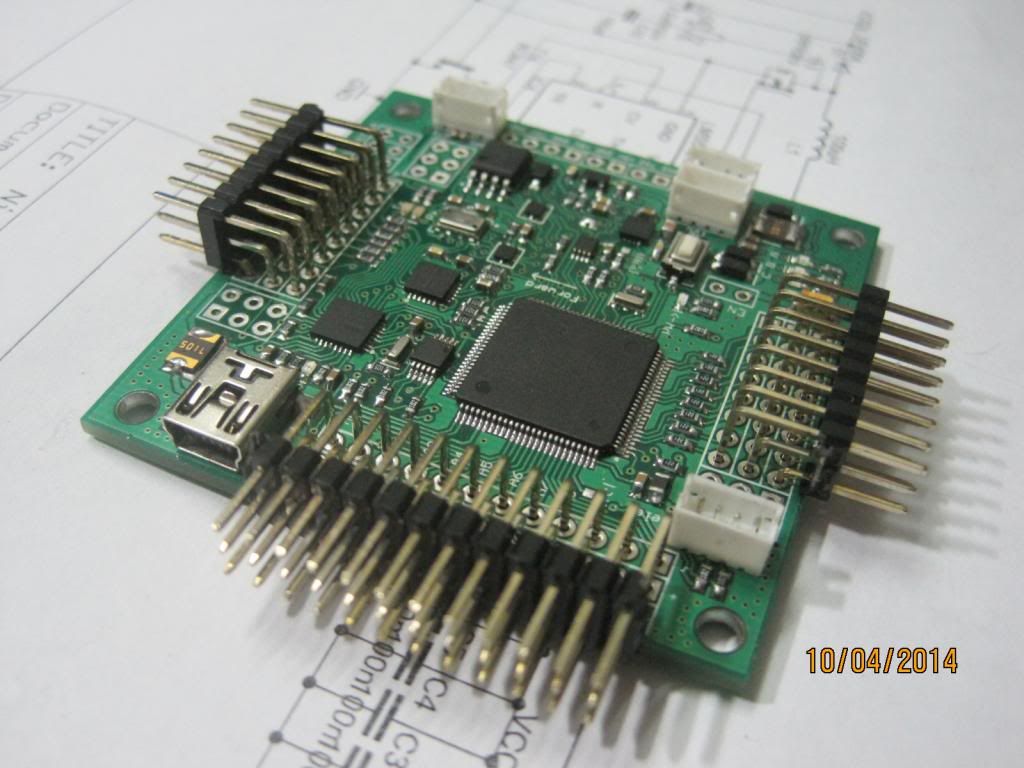
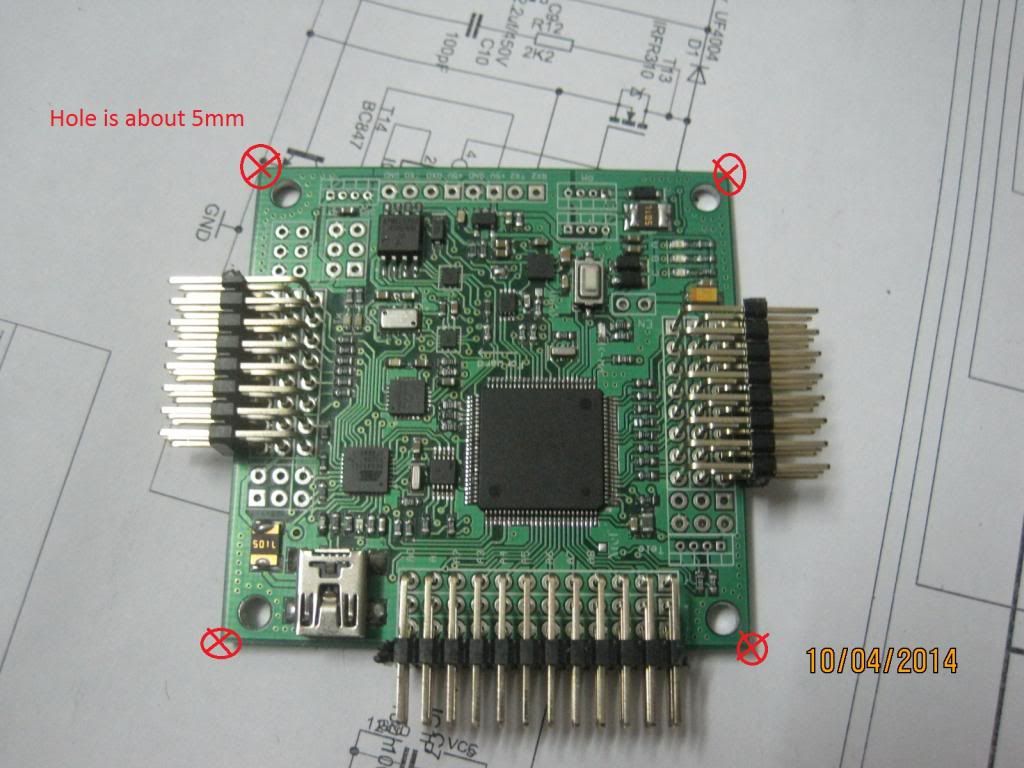
Firstly, I want to say thanks to APM2.5 dev team, 3DRobotic, their open source projects that helped me a lot to complete my first drone, include xtPilot - a modified hardware shown above, original is APM2.5 open hardware project.
(see my previous post - low cost version of APM2.5)
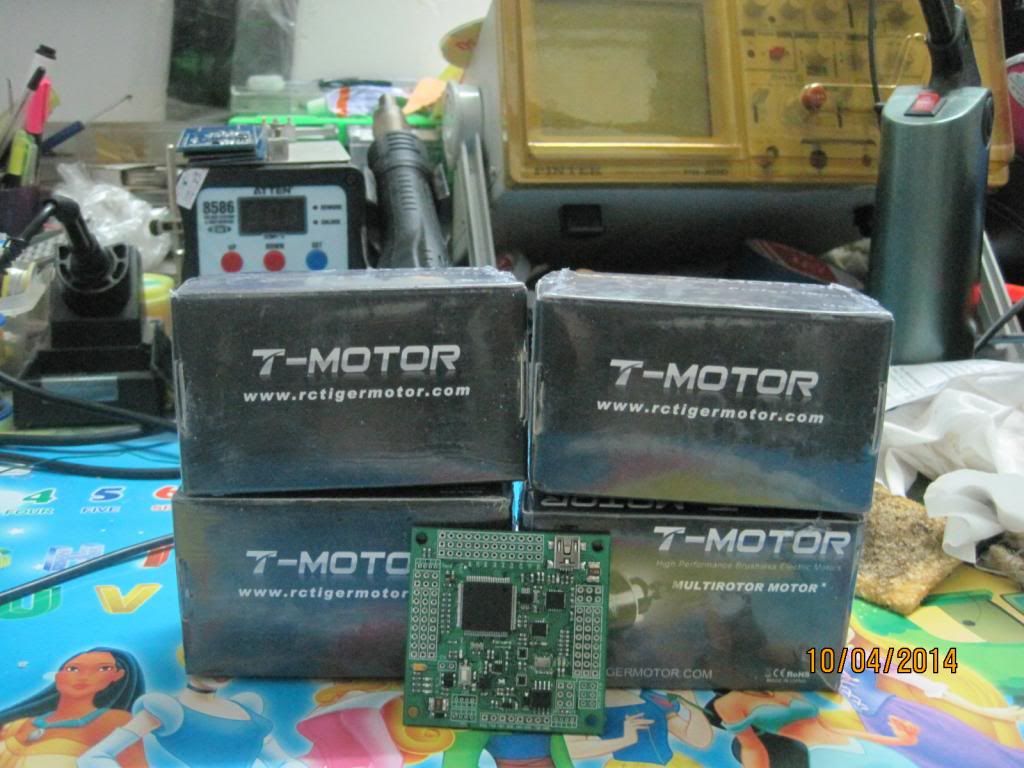
I have bought F450 frame (a clone of DJI450 frome china with very cheap price - $18.4 :D ) but I don't have the flight control board and brushless motor yet. I have just received 4 MT2216-900KV t-motors with nice price from a friend as the same time when I finished my flight control board.
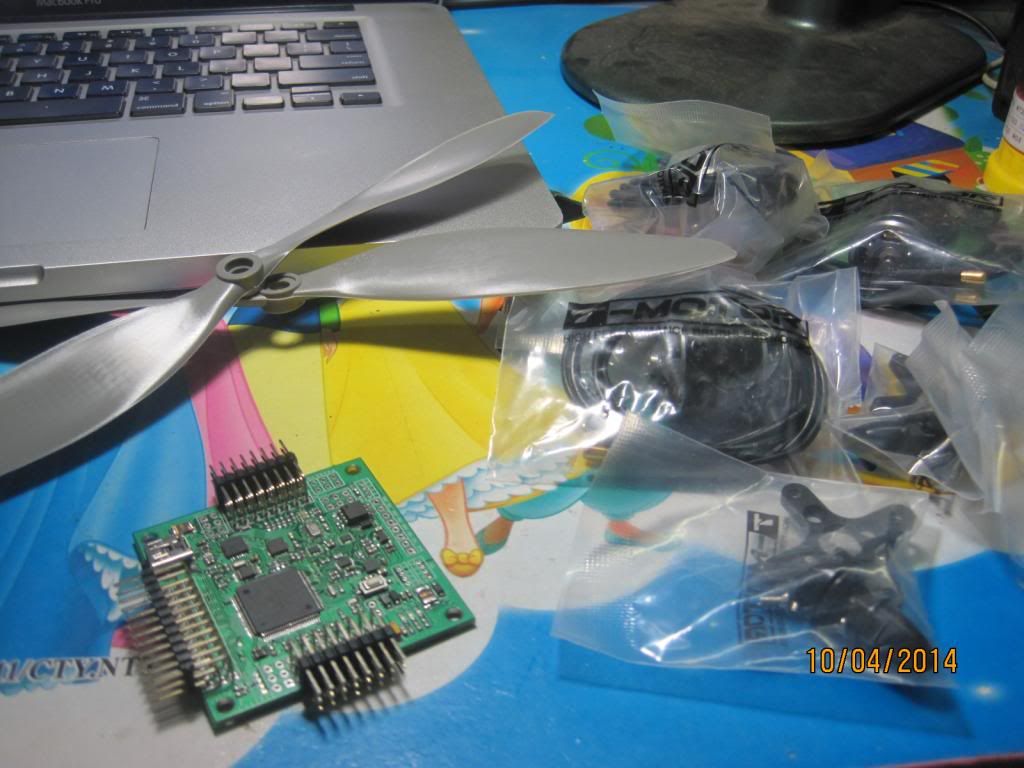
bad quality APC 10x4.7 propeller T.T (I can't find where to buy a genius APC or better propeller, because the ship fee from EU, US and other countries to my hometown is too expensive T.T - I was so happy with 4 original t-motor as least :D)
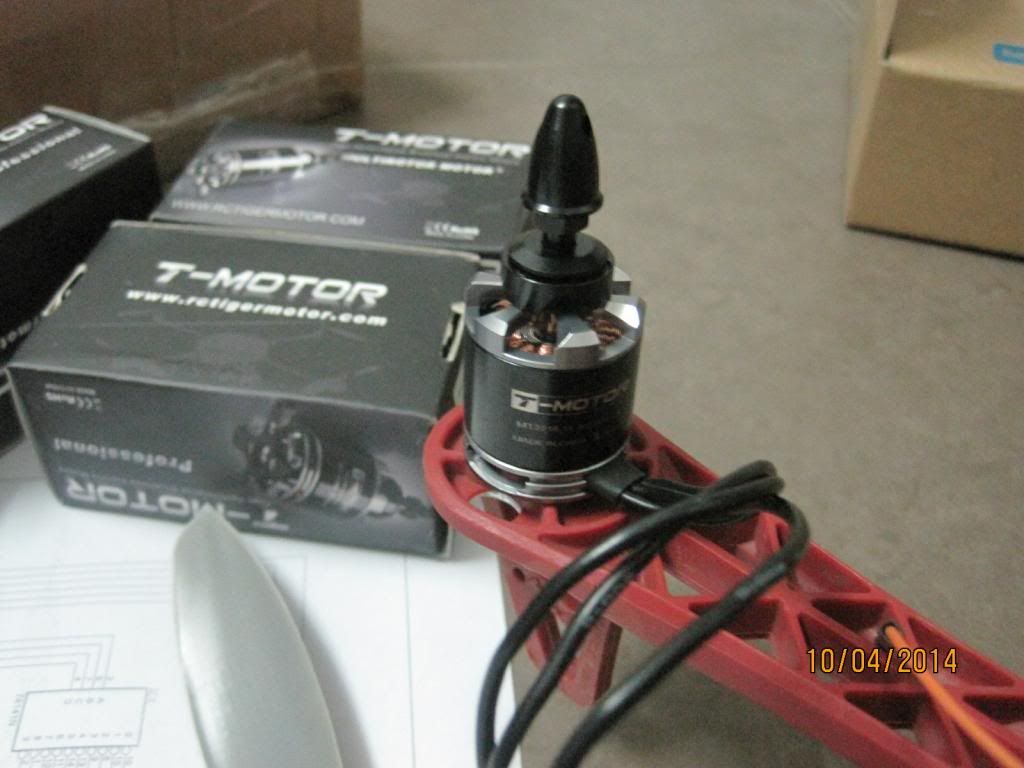
Motors were mounted to frame:
Now is the main parts to build my first quad ^^
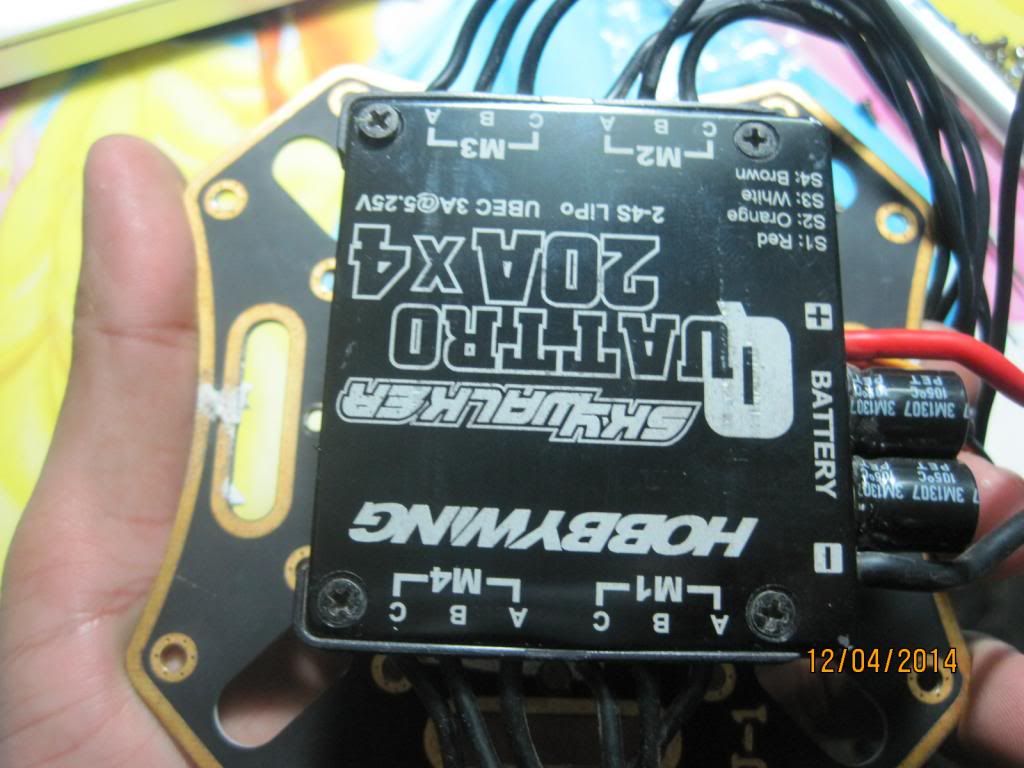
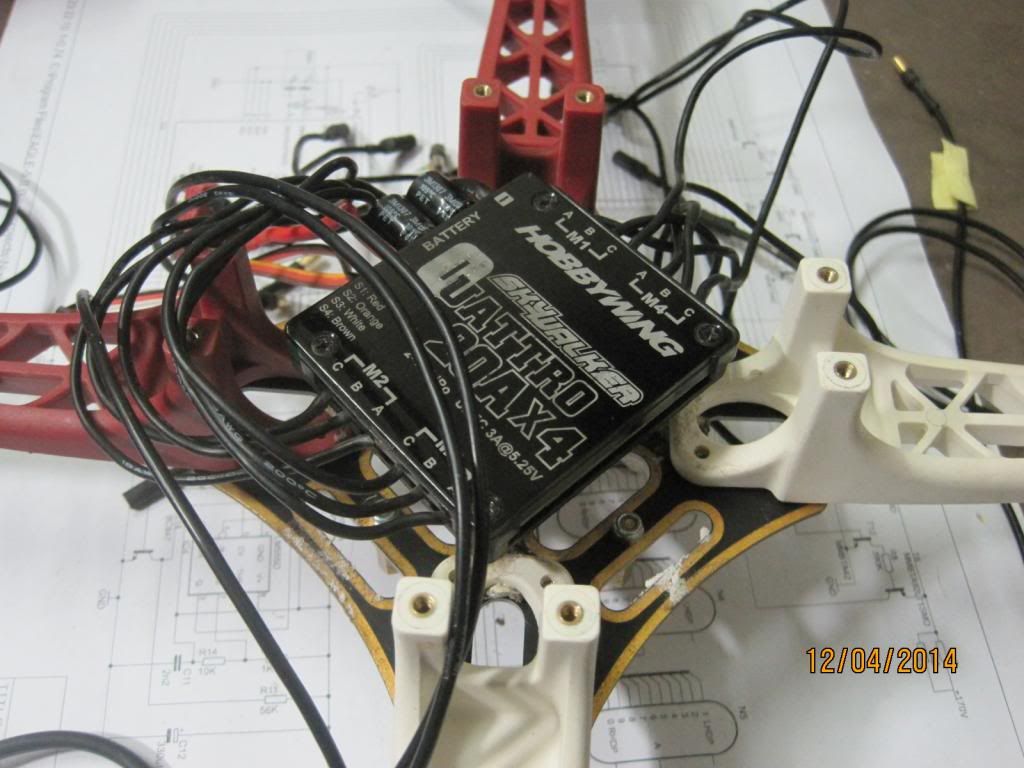
I/ Mount the Hobbywing Skywalker 20x4 ESC
I've tried to use bandage to keep that ESC but...it's so ugly, so I use another way to mount it to frame and...hola..it's ok ^^
Firstly, I drill a small hole with size is equal to the screw I have on the top fiberglass of frame
The clevis:
The result is 4 holes:
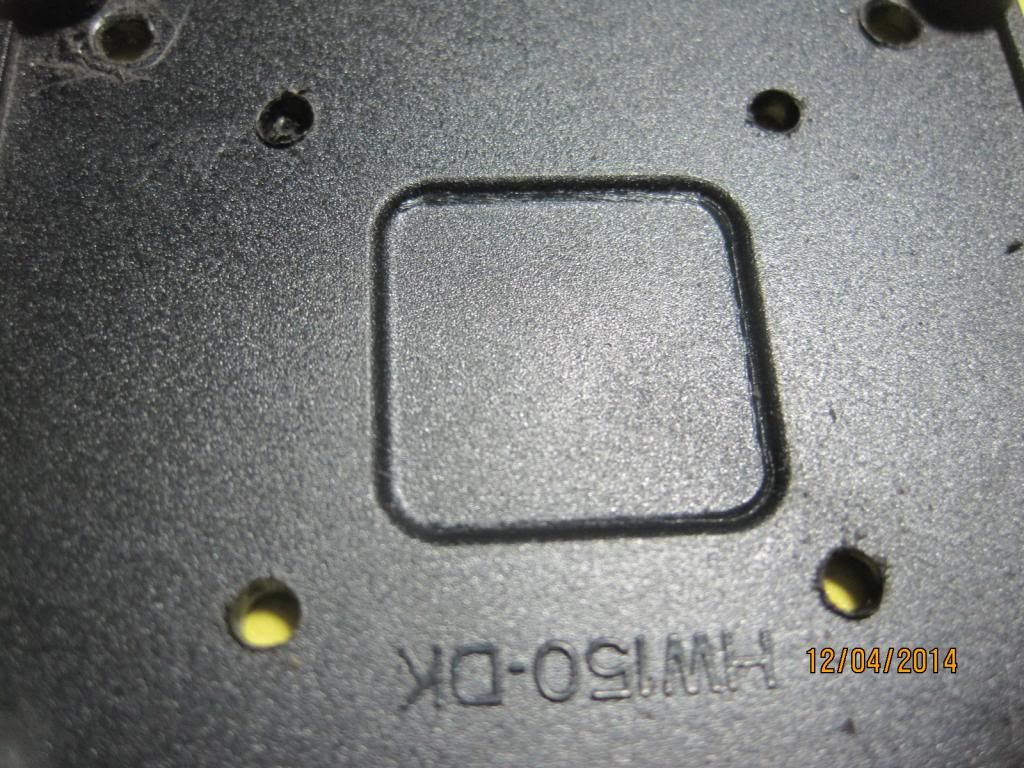
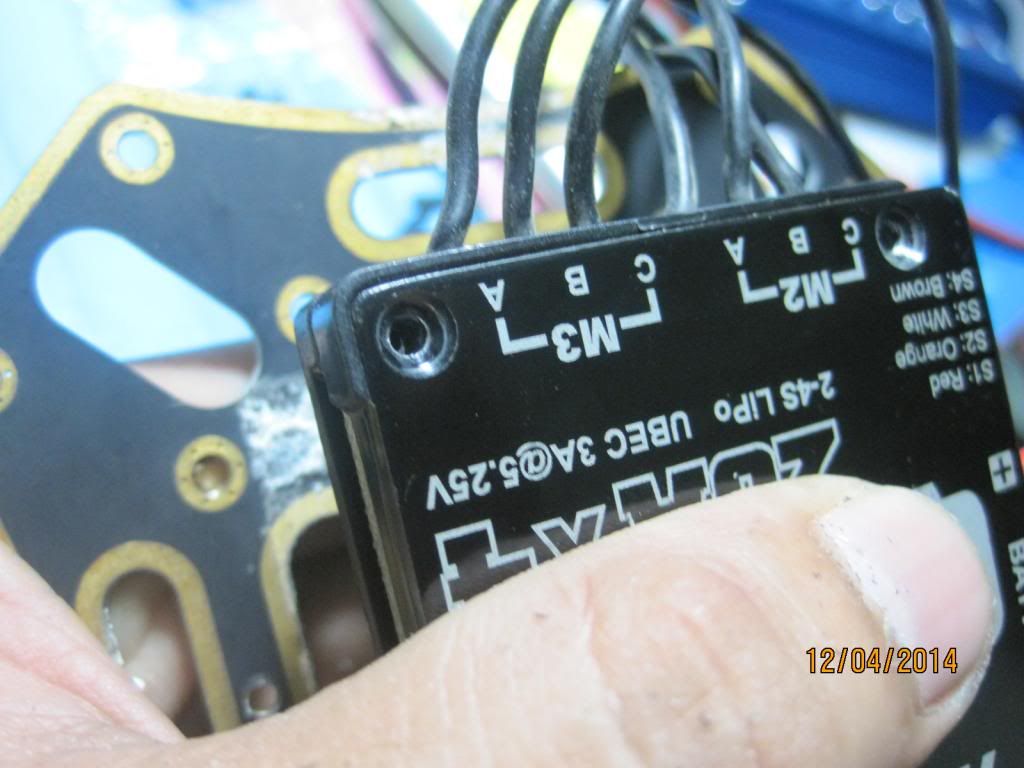
Then open the ESC:
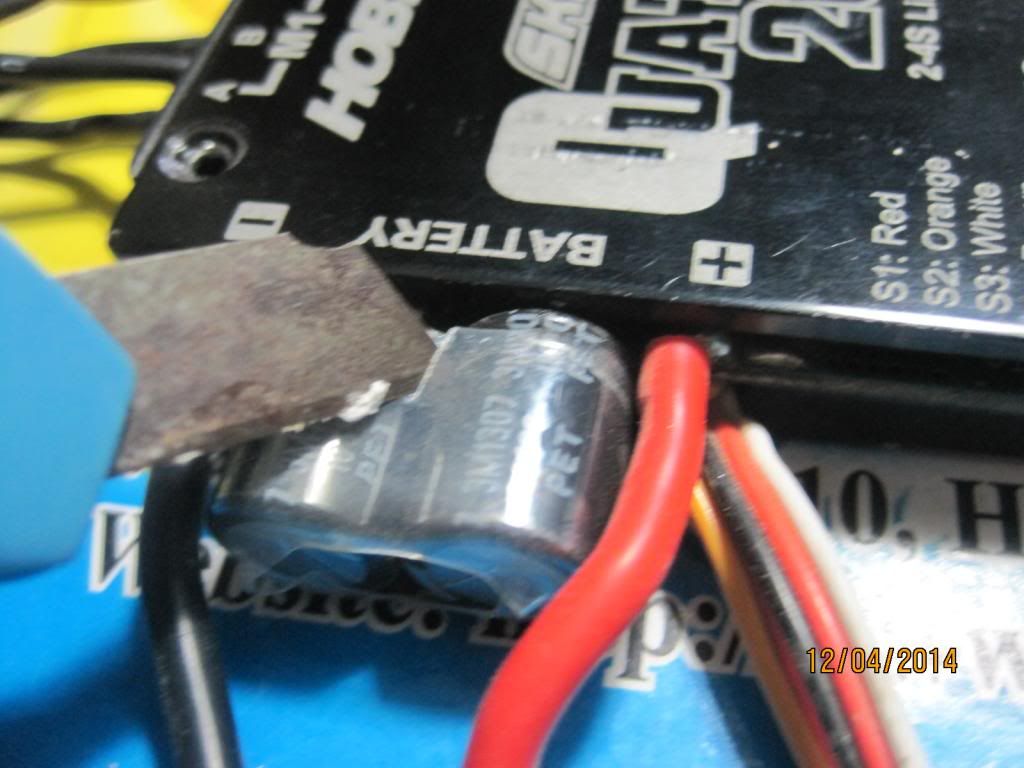
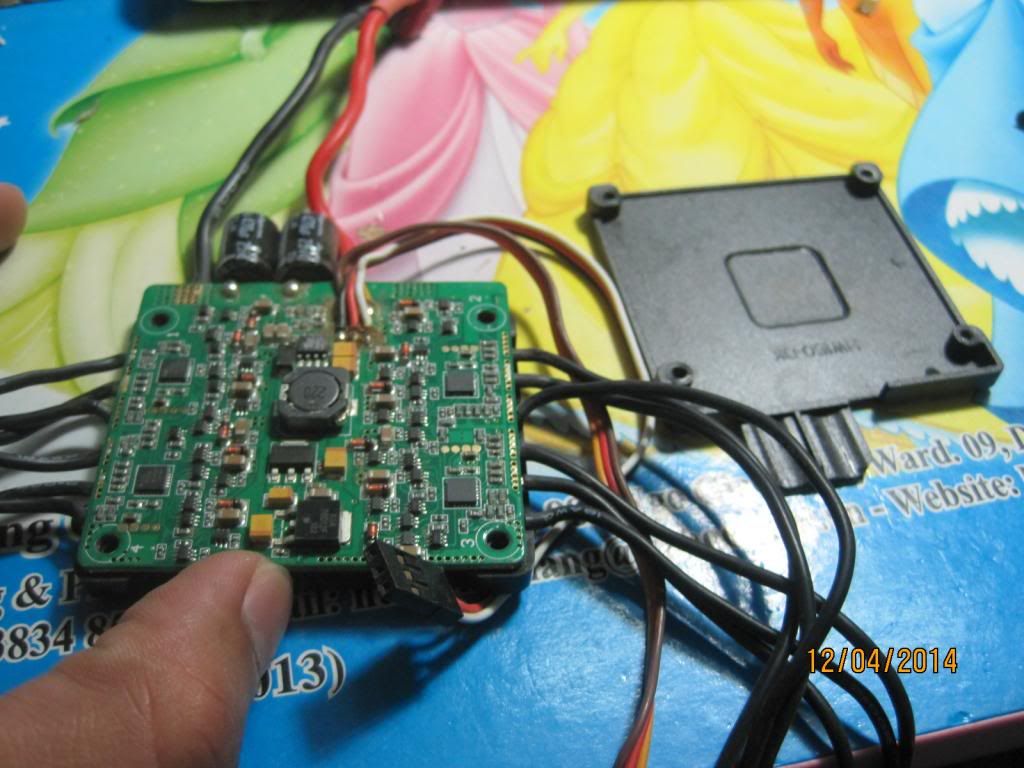
Closer look on Quadtro 20x4 ESC:

Maybe they used a good swiching power supply for 5V output, I hate 5V output by 7805 >.< it's so easy to die someday and can burn out your flight control.
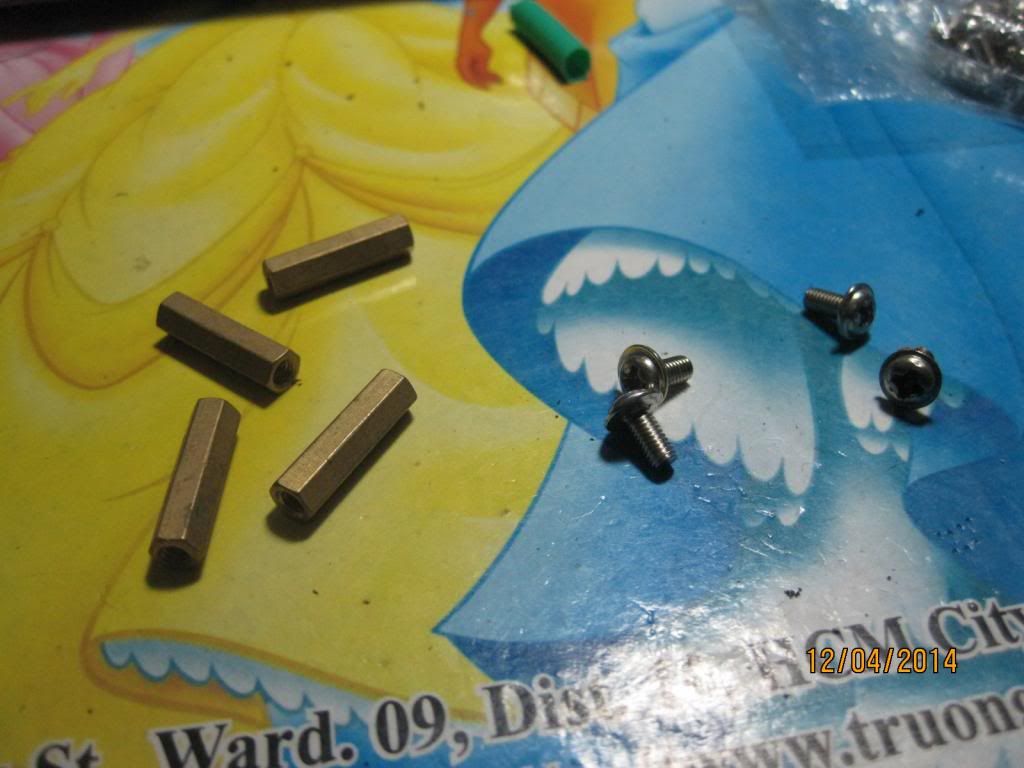
Secondly, you need to drill 4 holes on the back cover of ESC like the picture (it must be same with 4 holes you drilled on the top fiberglass of frame above):
Use this screw to mount on the top fiberglass:
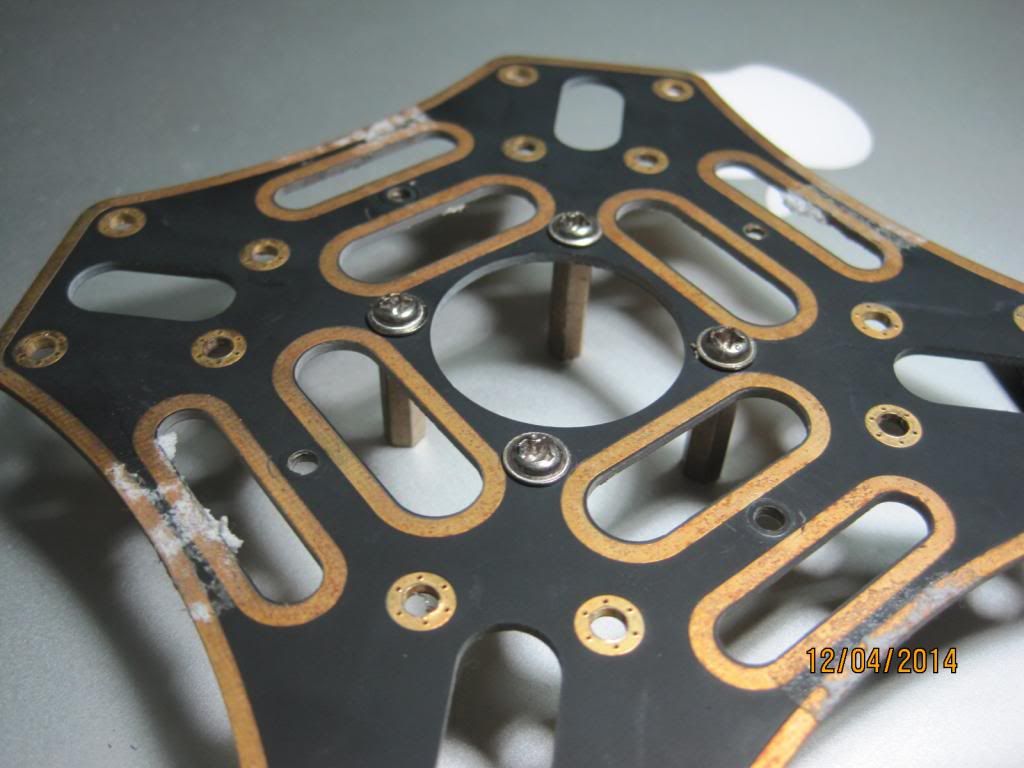
Combine two things above we will get:
Attention: you need to ensure that the top of mounted screws on the back cover of ESC don't touch will any components of ESC when you close the cover to the board. Do with your own risk
Finally, we will get:
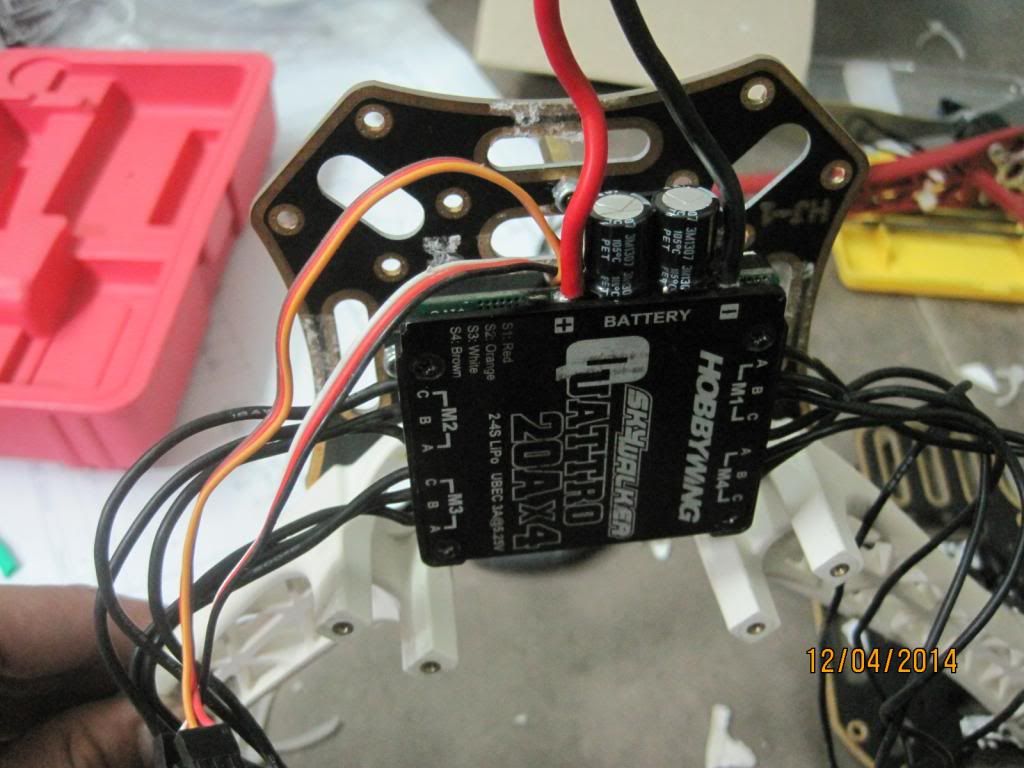

Better than ever :))
By completing the frame setup and...

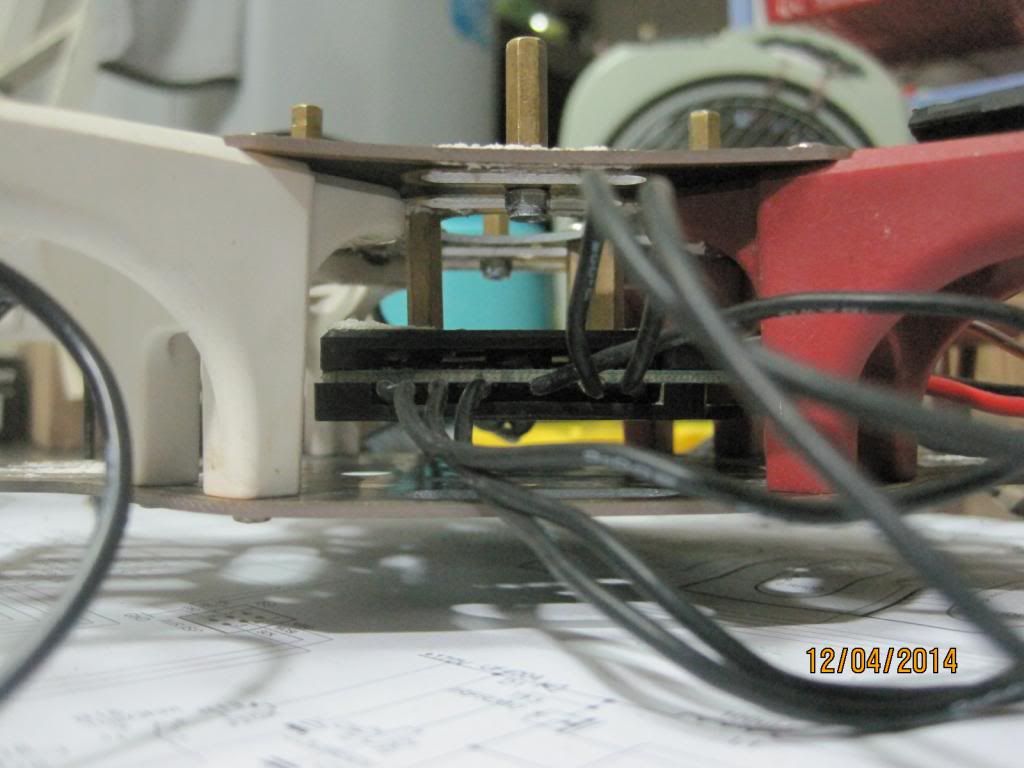
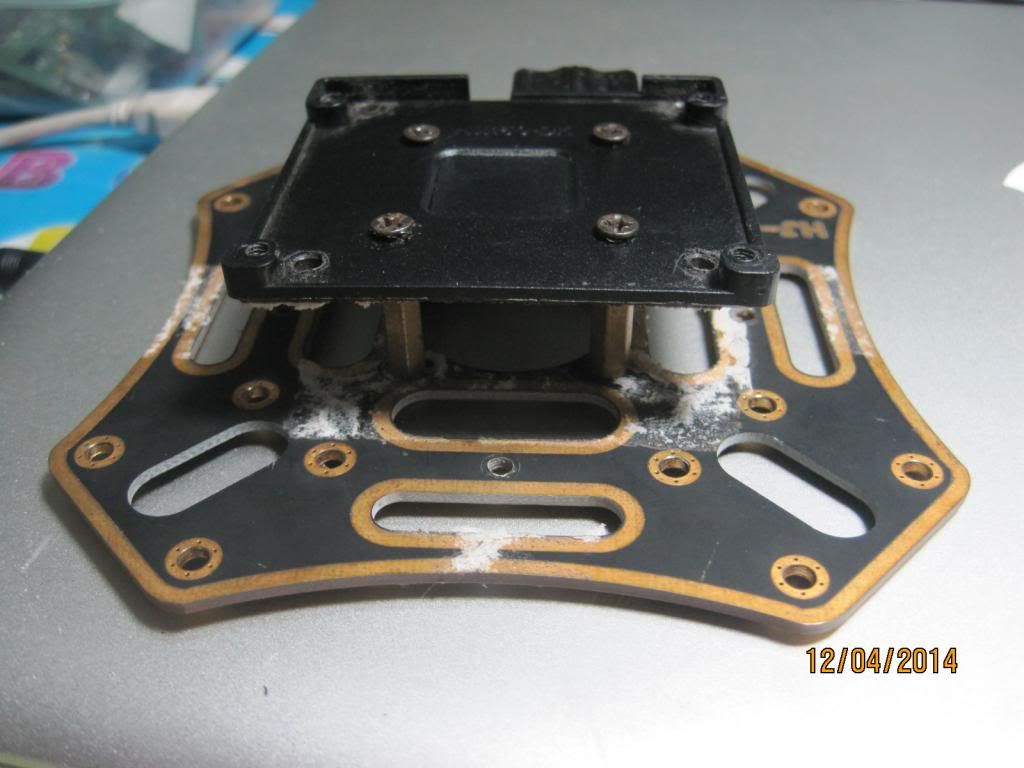
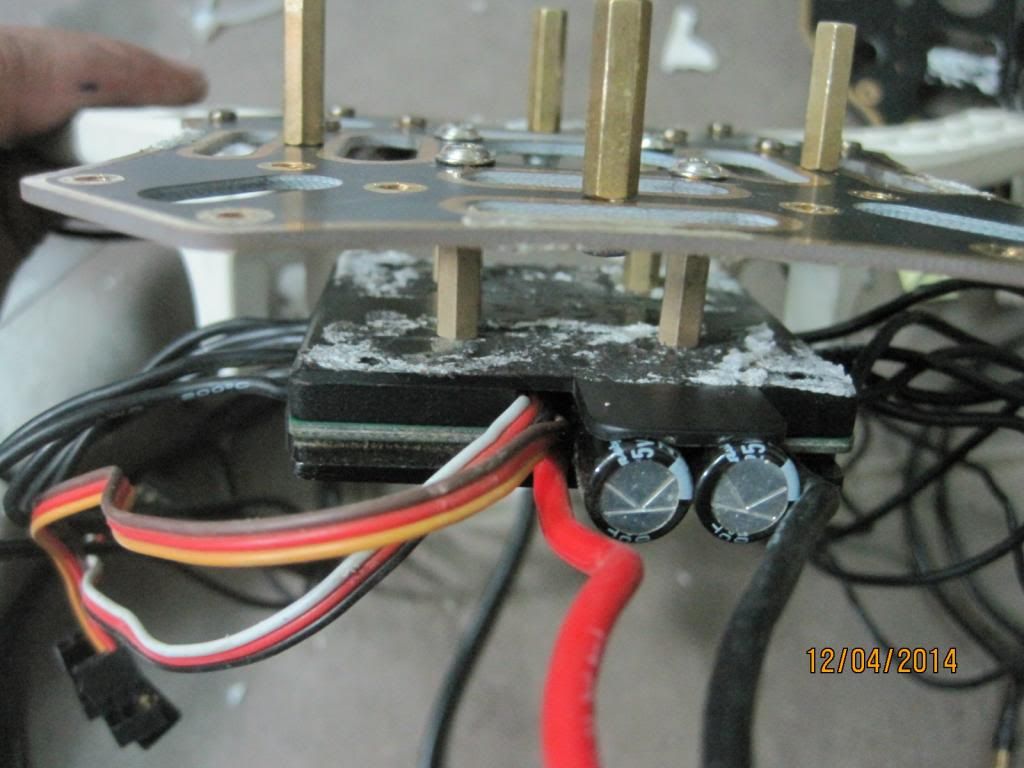
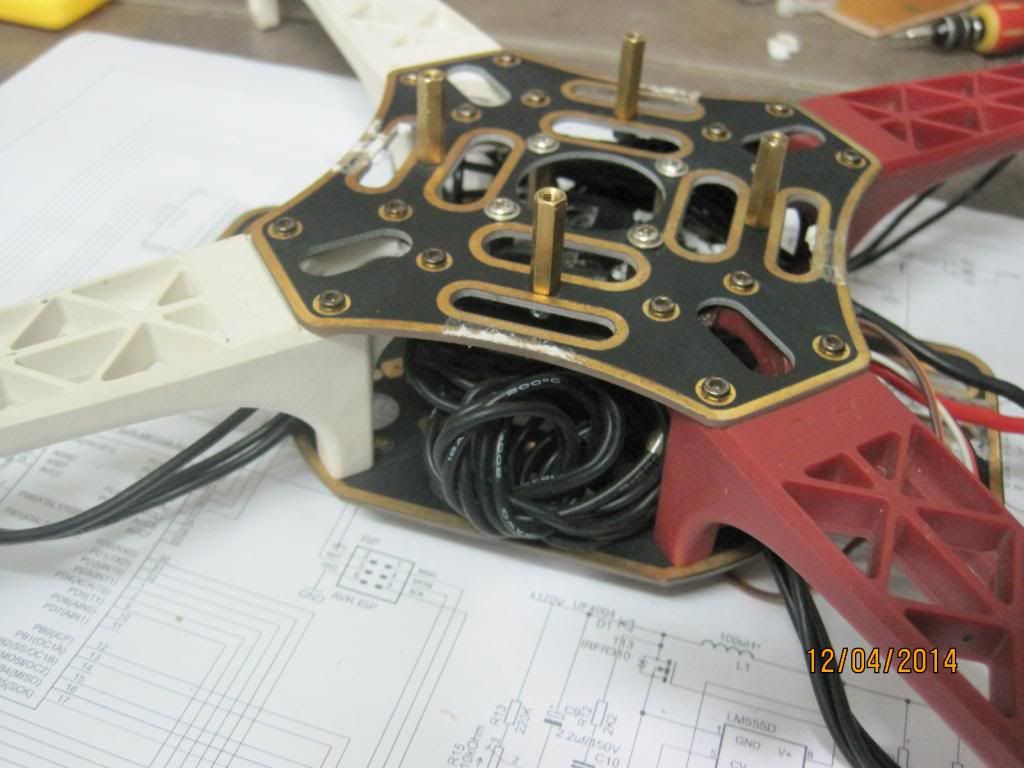
II/ Vibration Damping for xtPilot
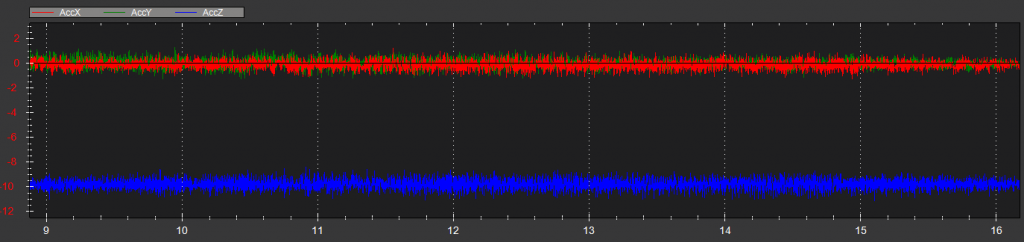
Now I show you how to make a simple vibration damping but it can reduce the vibration to between -1 and 1
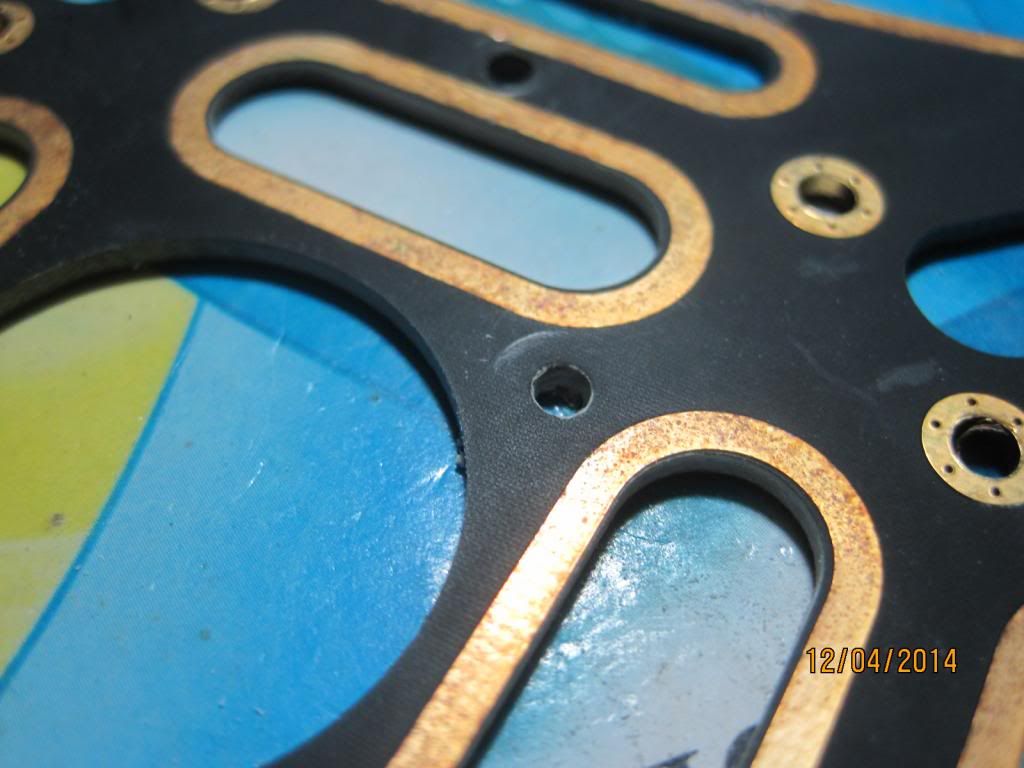
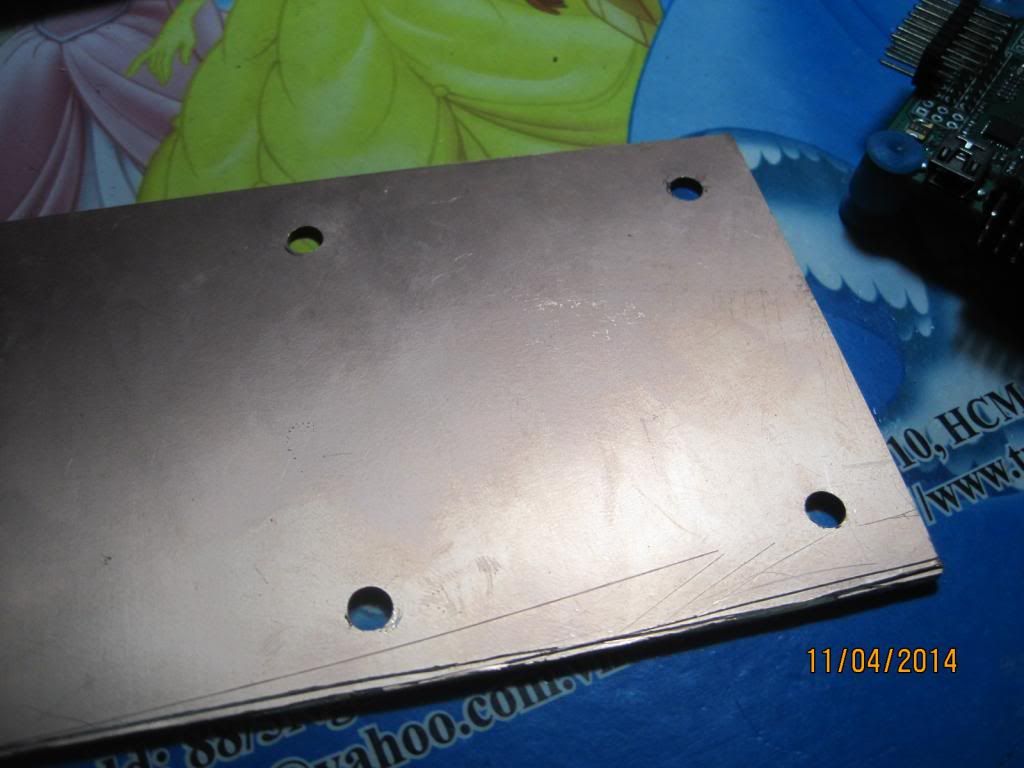
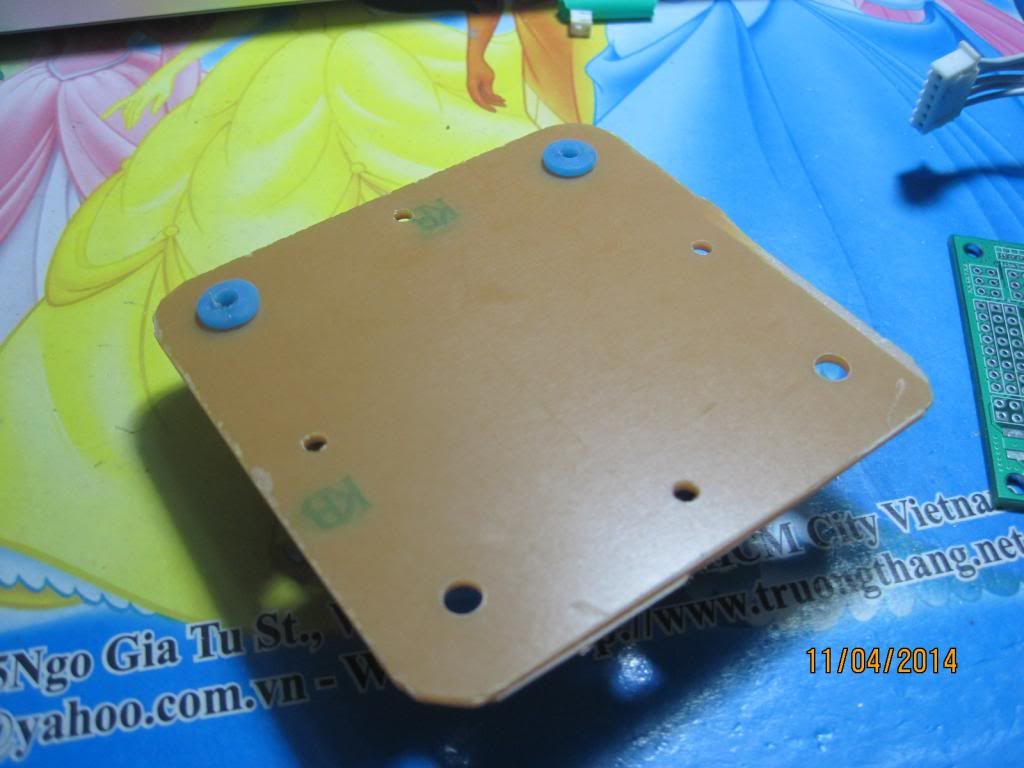
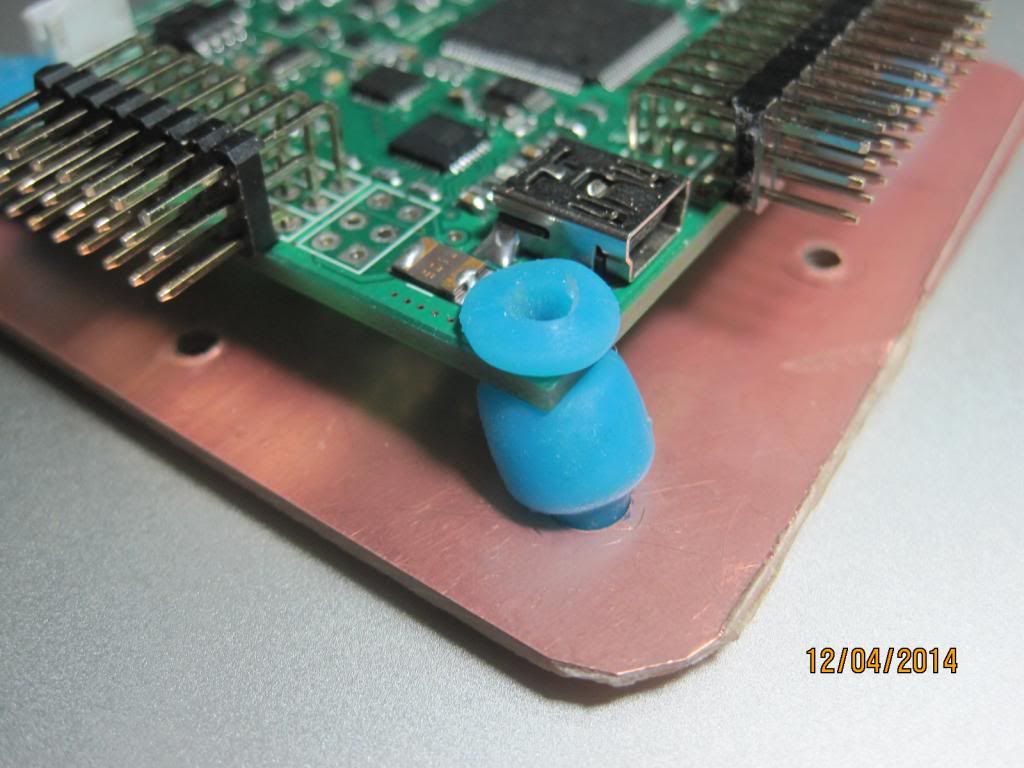
Firstly, you cut a small copter board, just about 8x8 cm and drill 4 holes (depend on your flight control dimension, here is xtPilot, 5.6x5.6cm)
and the hole's information like the picture with the center is the edge of flight control board , diameter is about 5mm (depend on your damping ball) .Sorry, I forgot to take the picture :D
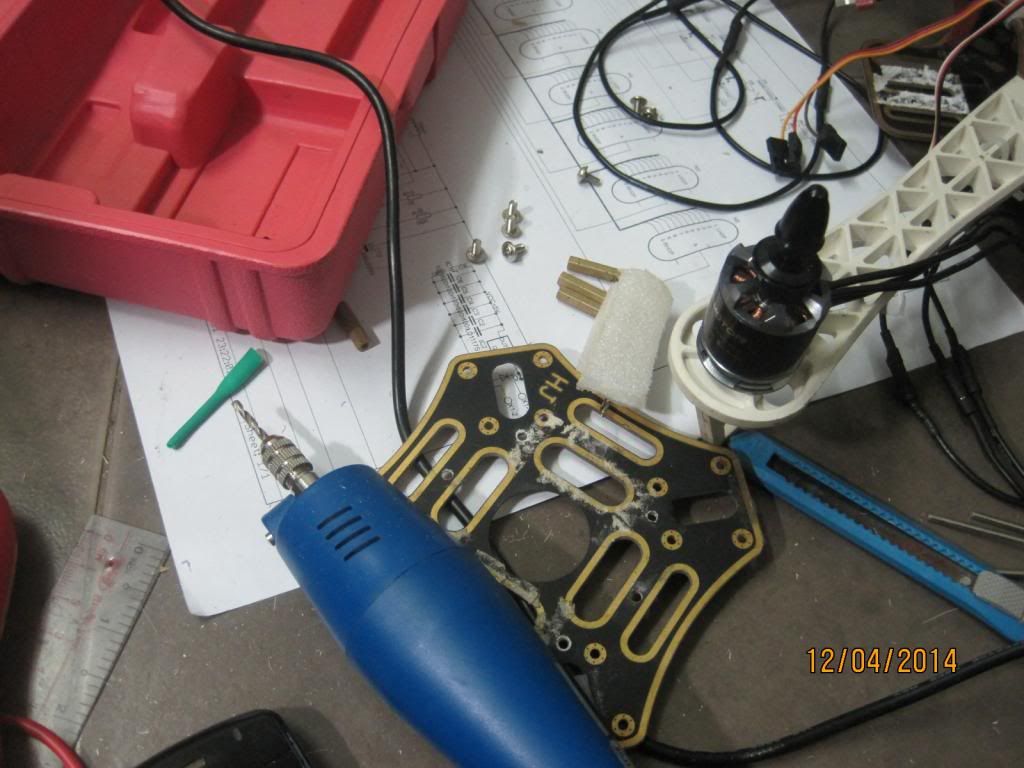
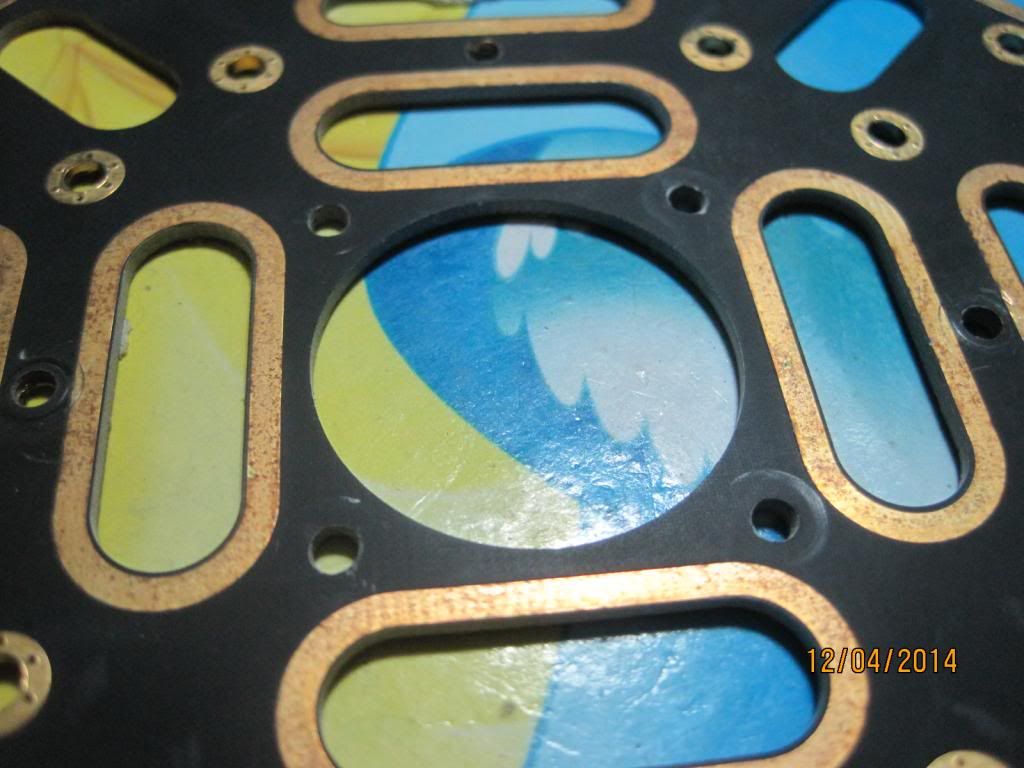
 Drill another 4 holes to mount the board to your frame
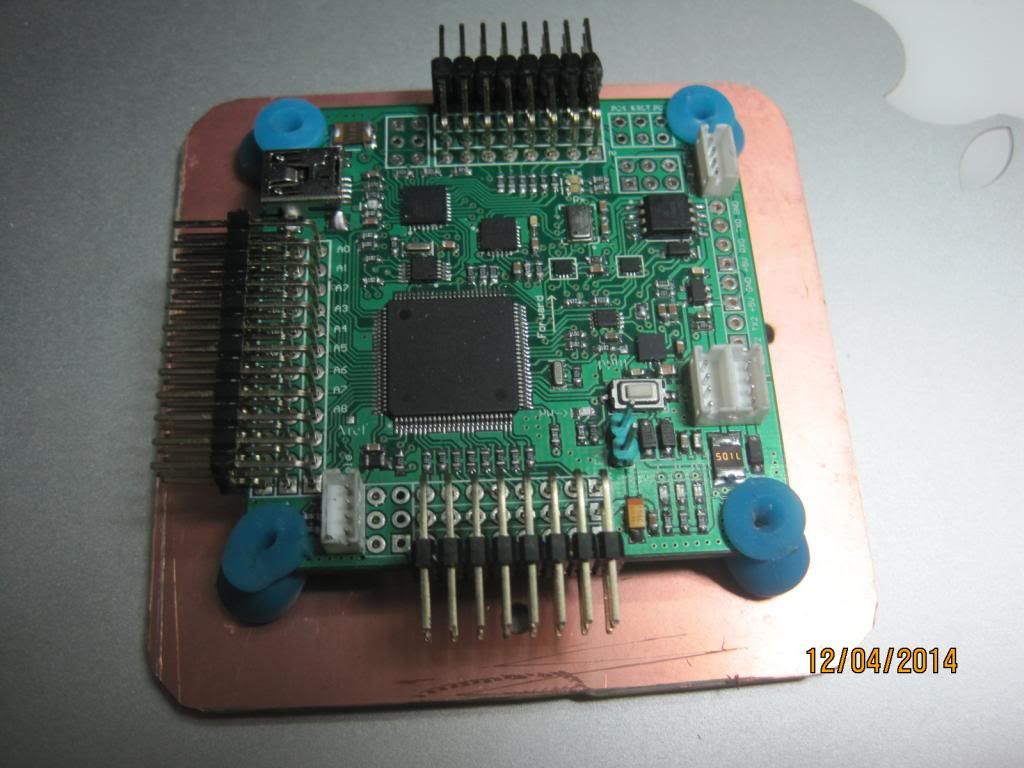
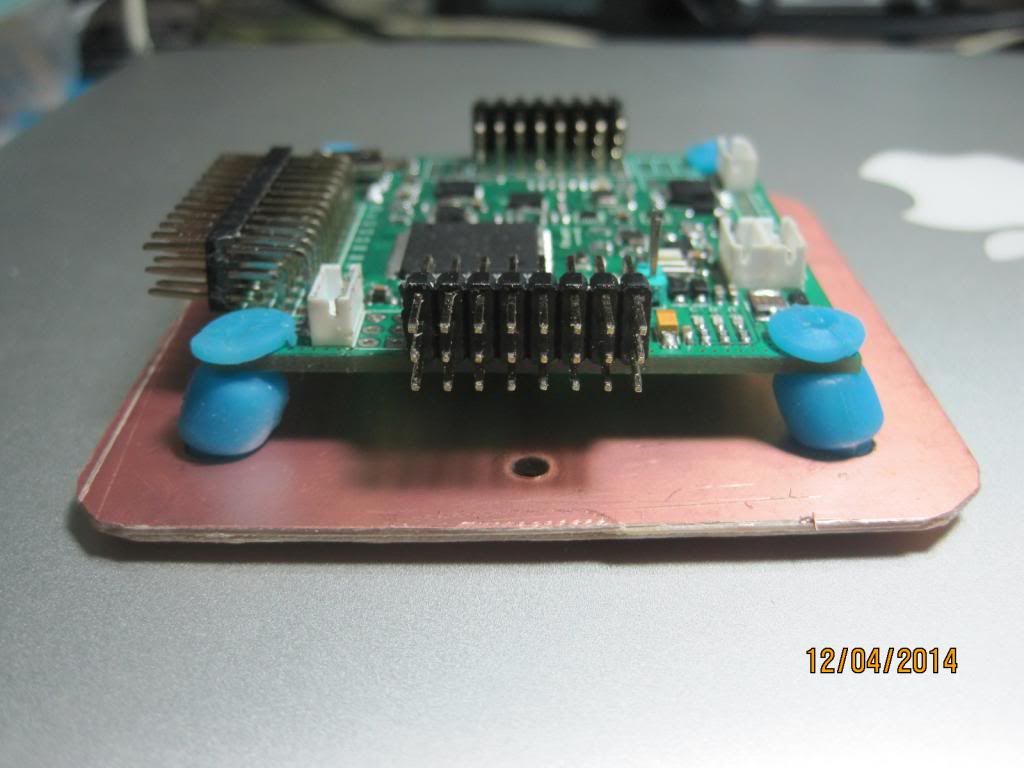
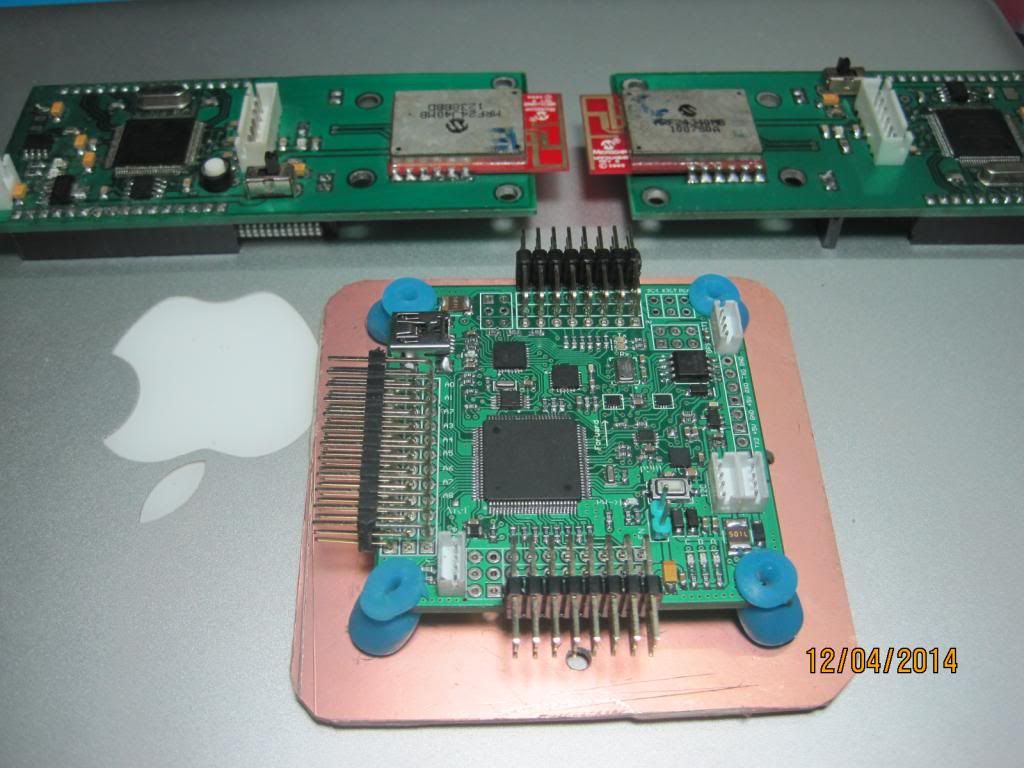
Mount the damping ball between the holder board and xtPilot:

and we get:

And here is the result I tested:
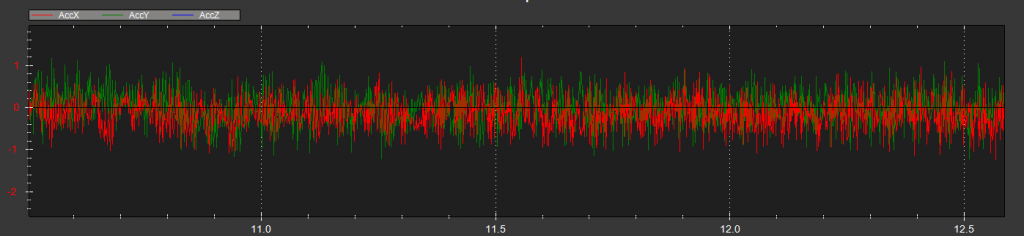
Closer look on AccX and AccY
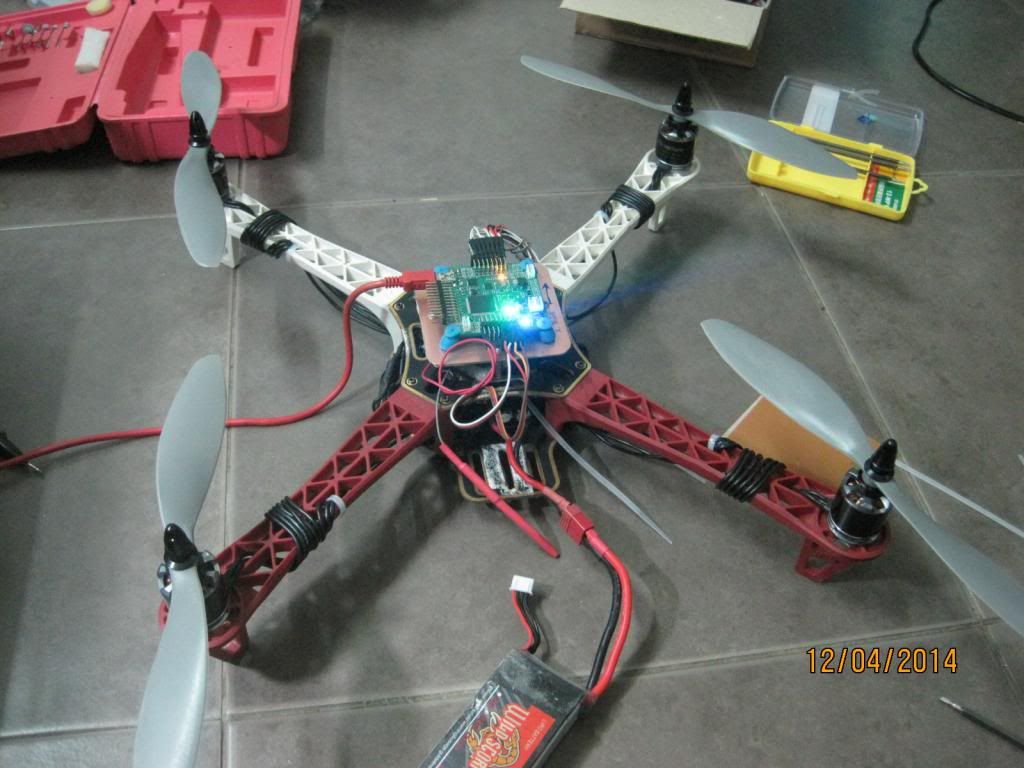
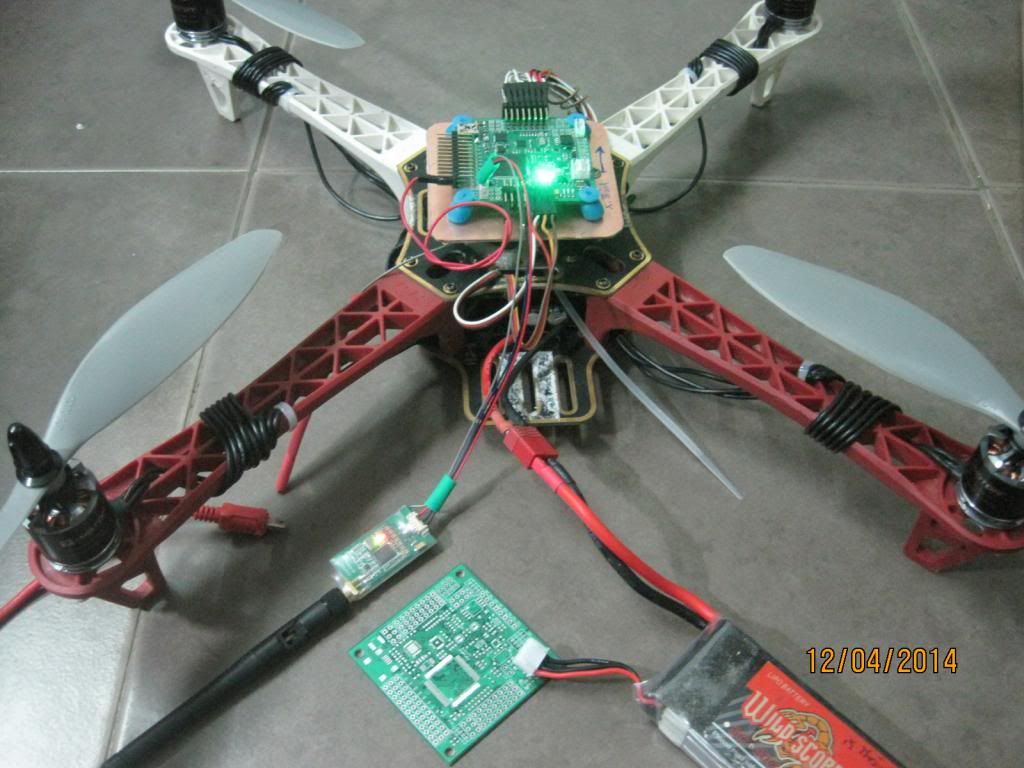
III/ Finish the Quadcopter with xtPilot
Wire the motor signal:

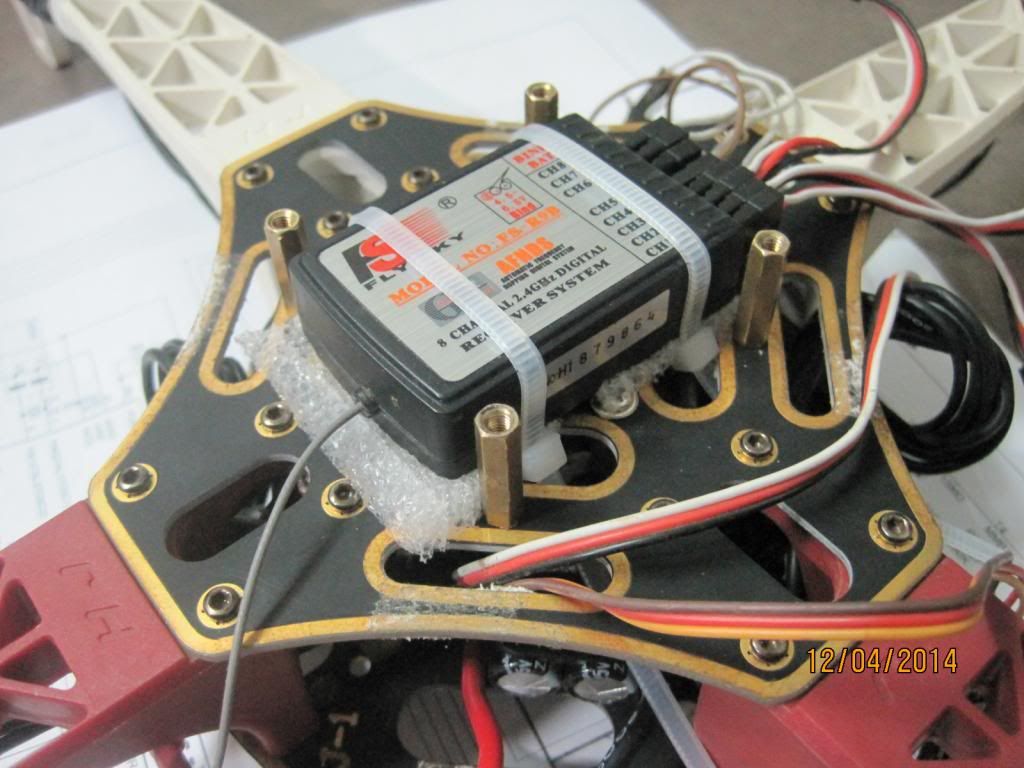
Mount the receiver Flysky th9x
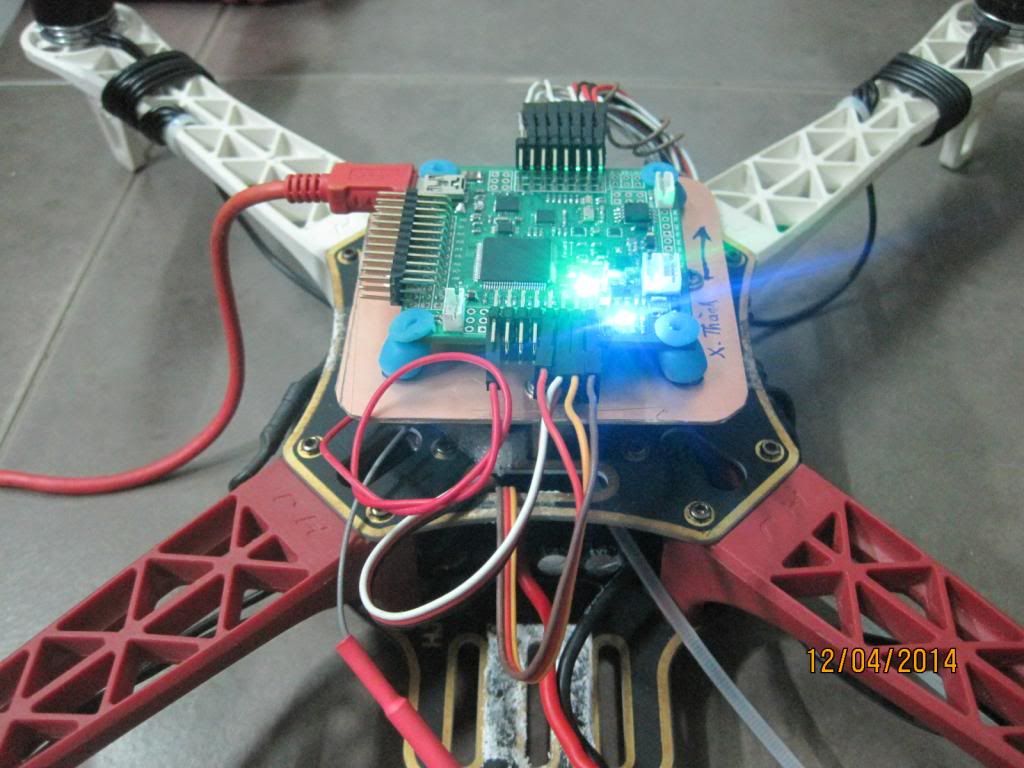
Finally, mount xtPilot fly control and complete signal connection:


oh yeahhhhhhhhhhhh
Just connect to Laptop and setup new system
JUST ANOTHER STEP IS....TUNING PID AND...TRY TO FLY MY FIRST QUADCOPTER....WAWWWW.... ^^
Have a nice day! From Vietnam with Love!
Thanh Nguyen
Comments
Thanh, do you think that your multi-rotor configuration and carry a small camera (e.g. Canon sx260)?
I think to make a similar multi-rotor using DJI F450 frame with 30 mAh ESC (i.e. DJI F450 frame + ESC and Motor Set) for Aerial Photo Mapping.
@ Thanh, awesome project, I noticed you mentioned damaging ur battery when mounting underneaths, may I offer you a suggestion to mount your 4in1 ESC underneath and put your battery in-between the plates, if your current battery does not fit, there is a zippy compact line (long and thin) over at HK, I've been using them and my oldest one is about 50th+ charge since August 2013 and gives me about 2400mah of nominal 2700mah (i consider this good). those batts fit nicely between the plates w/o adding extra weight of additional protection and/or higher landing gear. Also, since ac3.1 vibration filtering is just awesome, just out of curiosity try mounting your board directly on the frame with metal standoffs (bolt on). On my quad with never balanced CF rc timer props and sunnysky motors I get vibration level of 2-3, I am sure if I balance them I will do 1-2.
Nice seeing such a nice project and good luck with your board design, I am sure you would be able to sell many of those boards if you'll make it smaller, w/o any pwm input and fixed 3.3v rail (I will by at least 5 right away)! Good luck to you!
I plan to put the battery below the frame, of course, I will use s.t to make the frame higher than the height of battery, I don't want to destroy my battery pack,too T.T
(my 5500mA/45C 3S can't fit the lower deck of frame. I've tried to put it below the frame without something to protect, and the result is....it was distorted
Nicely built! Where do you plan to put the battery? I used the same frame but put all the electronics on the upper deck, including the Quattro ESC, so the battery fits in the lower deck. I don't like the battery exposed down the copter, because in the case of a crash it is protected by the frame.
Yes, it works well!
Is xtPilot works with Mission Planner and/or APM 2.0.x?
Thanks, I will make a video on tomorrow ^^
Nguyen Duy Hung : Yes ^^
wow , waiting your video ...
Good job indeed.
Share flight Video too.
Thanks for sharing - where's the pudding(video). Nice vibe handling.
-
1
-
2
of 2 Next