Hello Diy-droners,
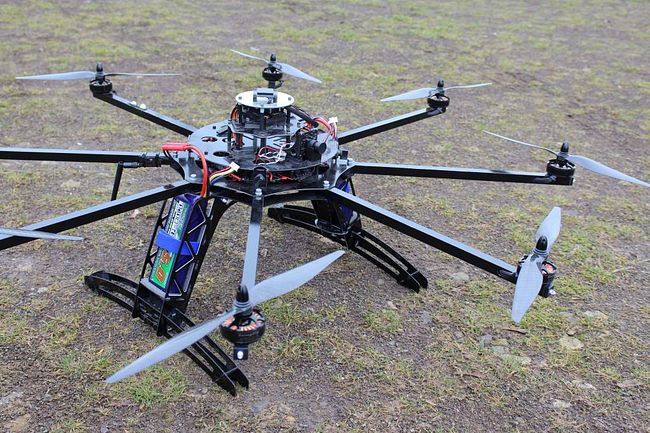
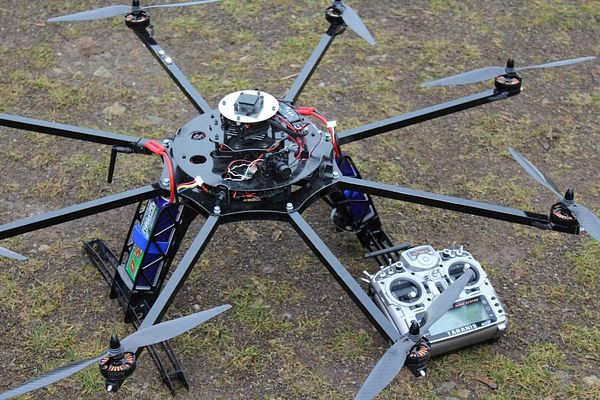
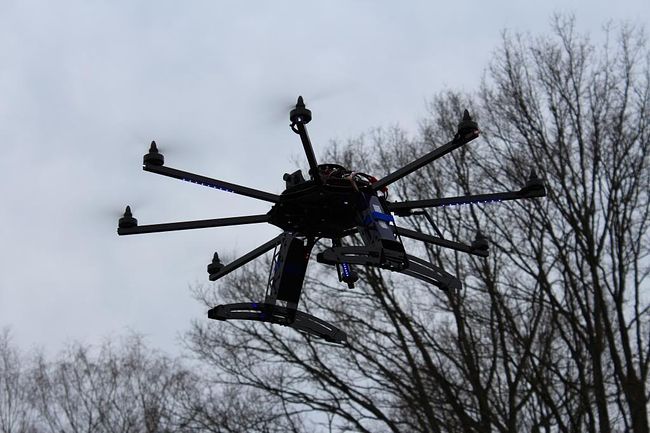
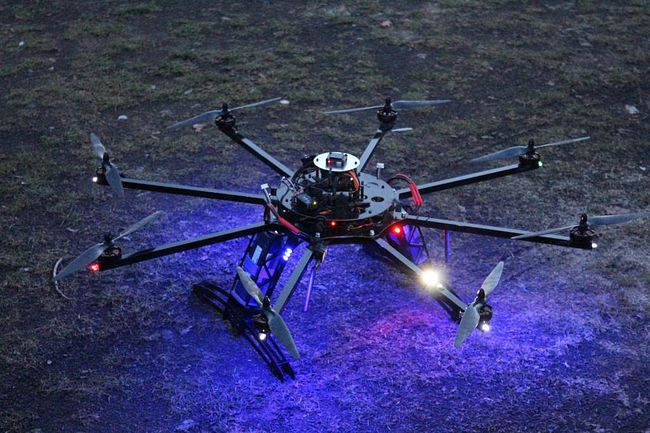
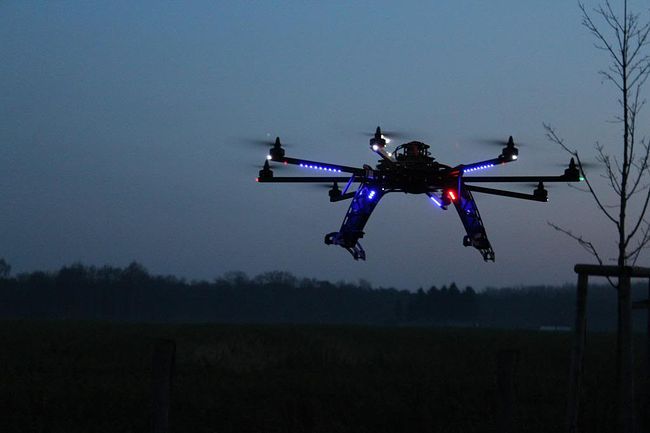
I just wanted to share my latest completed project and some of my experiences. As you can see in the photo it is a large octocopter. It is designed for aerial photography with a canon 650d DSLR camera and a Small FPV Cam on top with the osd data, I can switch between the two with a switch on the TX. I also designed the Brushless gimball and it is detachable from the copter itself. I have broken the Parts down into sections below with further information:
Motors: The motors I used are from Sunnysky (Motor X4108S) They come in a small cardboard box and are well protected. I am very impressed with these motors the quality is great and best of all They come perfectly balanced, I checked them all using the laser pointer technique and there was no balancing to do on any of them. I especialy like the Propeller mount, it screws to to Outrunner outer case, I Just wish they would make them with the thread running both ways for the counter rotating props. My props are 13x4,3.


http://www.rcsunnysky.com
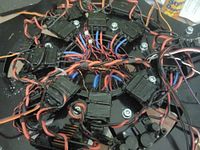
Speed controllers: I decided to use Opto25A speed controllers from maytech they come preflashed with the SimonK firmware which I like, I really didnt want to be flashing speedcontrollers mayself. I must say from the eight ESC's, I did have problems with one. I removed them from their heatshrink and solder motor wires directly to the board, so the fault was most likly caused by me. However Maytech where very quick in replying to my mails and sent me spares within one week. In the pic below you can see how they are mounted, they are also covered in PlastiDip.


http://www.maytech.cn
Lighting: I wanted the copter to be well lit so I could fly in the evenings and at night and still be able to see exactly what position the copter is in. Underneath I have Blue stick on light strips, On the tip of each arm is a 5mm white Led and the left and right arms are Red and Green leds aswell. On top of the rear arm is a 10mm Ultra bright white Led and a10mm Red Strobe. Ive put some Photos further down the page.
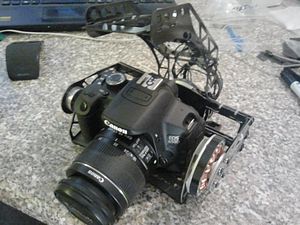
Camera gimball: The Gimball is also my own design, I wanted it to be easyly detachable light but strong. All the Electronics come from I-flight the motors are and im using a Martinez controller. It is designed for a Canon 650D. Tuning was a major headache, It took me days of testing to get something worthy of a test flight. As for the electronics; The motors are built to a high standard but the windings look like they have been done by hard, they are not uniform. Flight controller is from them aswell and the quality of soldering what should be expected. I Still have more flight testing to do with this and will make a separate post for it at a later date.
 http://www.iflight-rc.com/
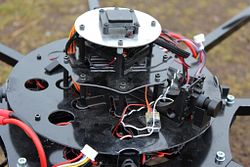
APM setup:I am using 3DR APM 2.6 with internal magnetometer. Ive Mounted a 3DR Ublox GPS Right on top, I used the shielding out of a hardrive to sheild the GPS from interferience. The sonar is a MB1200 EZ0 And is mounted on the bottom of one of the legs. I fitted external LEDs for the GPS fix and Armed/disarmed status. The APM has a Piece of lead glued to the bottom to add mass and is mounted using normal double sided tape on the corners, This proves to be quite effective when checking the logs. My Radio is the FrSky Taranis, I am quite impressed with the radio and all its features, I also made a six button mode switcher as listed here and have assined speach output to each button.

The spikes are me bouncing the copter on the ground.
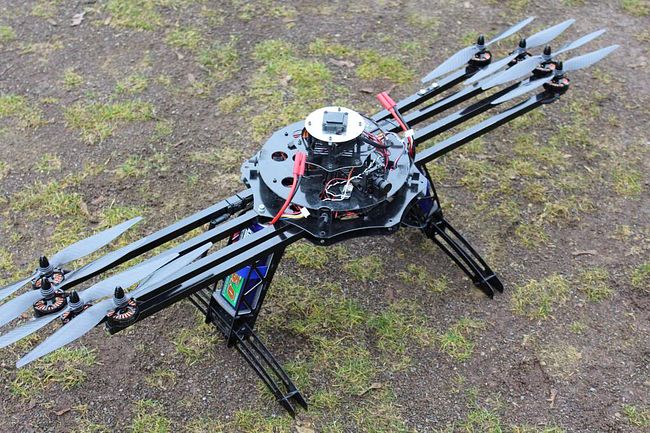
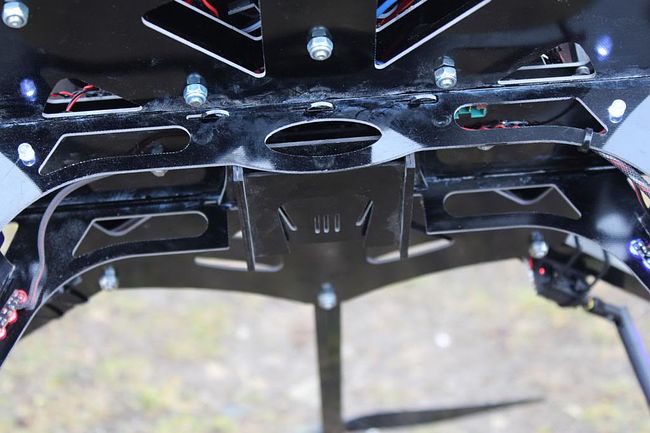
Frame design: I designed and CNC cut the frame Myself, It is made from 1.5mm black glassfiber plate. The arms Are 15mm Square Aluminium profile and are about mm long, They all fold inwards to make transport easyer. I can also remove the feet if I need to with 4 small screws. I Also wanted to be able to remove the camera gimball if needed so i designed a clip system where the gimball clips onto the bottom of the copter.(Photo below) This way I can basicly clip anything i want to the bottom, I plan at a later date to add Floats and a gopro on a long arm for underwater footage. :)
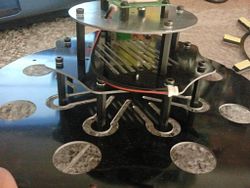
One thing I Would change and still might is the arms, they are quite heavy at about 120grams each. I could save alot of weight by using carbon arms. Antivibration was also taken into account when designing the frame. I designed it so that the mounting screws for the tower where the APM is mounted are Flexible, Its best it look at the photos to see how i did it. The speed controllers are mounted just above the Arms and the Glassplate that covers them has aluminium tape stuck to the underside. The idea of that was to reduce the interferience, Im not sure if it works but i thought for the few grams extra weight to was worth a try. The copter is powered by 2 5000Mah 4s nanotech Batterys parallel, they are mounted in the legs on each side.
Weight is about 6kg with Camera and im getting flight times of about 15mins. Up to now I have tested alt hold and Loiter and they where both rock solid with the default PIDs. I Just need to make a Protective dome for the top now.
I would like to thank all the developers and the whole comunity for making this Tech possible and avalable to us all.
Lets keep it going!!
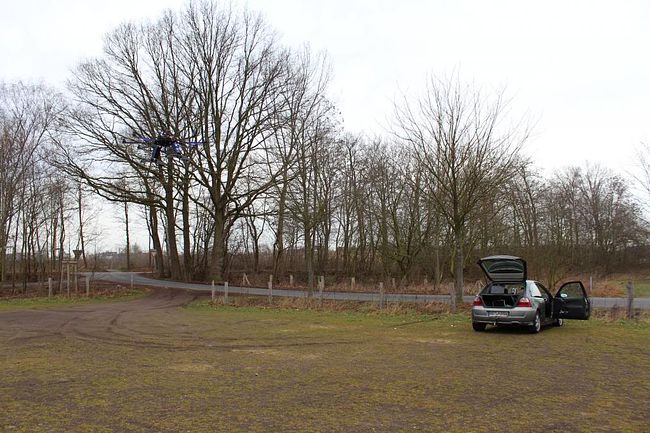
Here is a short video of me testing the PIDs in stabilise mode. It wasnt meant for here hence its not long and all that good, But you can see the copter in flight. (Weather depending ill make a half decent video next week)
