Charles lakins's Posts (5)

Sort by

Storm32 BGC gimbal

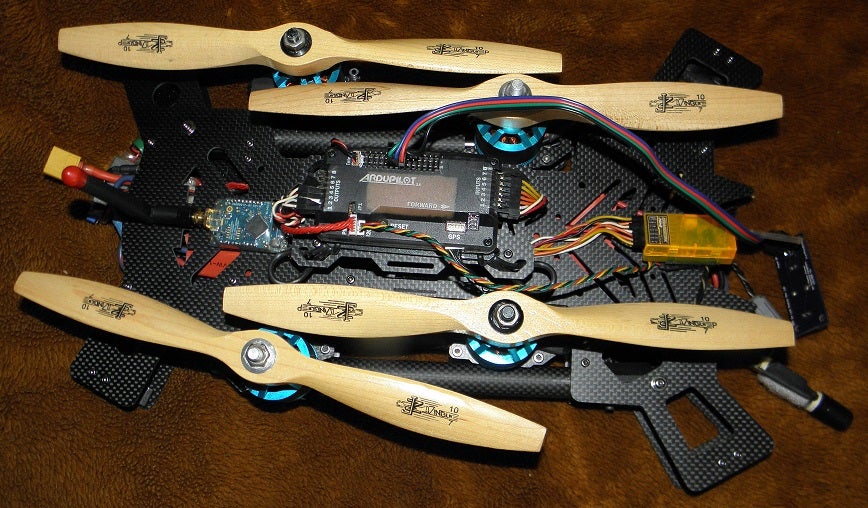
After combining my retracts from my previous blog post and my conversion plate to turn the 2-axis into a 3-axis gimbal

then also adding a mounting plate for the Storm32 BCG controller, further testing and setup goes great so far

Also did some tests using the spektrum sat option for the second operator to control the gimbal movements remotely (with possible future retract control also)

further settings to be done to fix the tilt upward issue I'm having yet

3689639347?profile=originalGoodluckbuy v1.31 Board:

http://www.goodluckbuy.com/storm32-bgc-32bit-3-axis-brushless-gimbal-controller-v1-31-drv8313-motor-driver.html

HC-06 Bluetooth Module (supports auto bluetooth tool in gimbal gui):

http://www.ebay.com/itm/281478553428
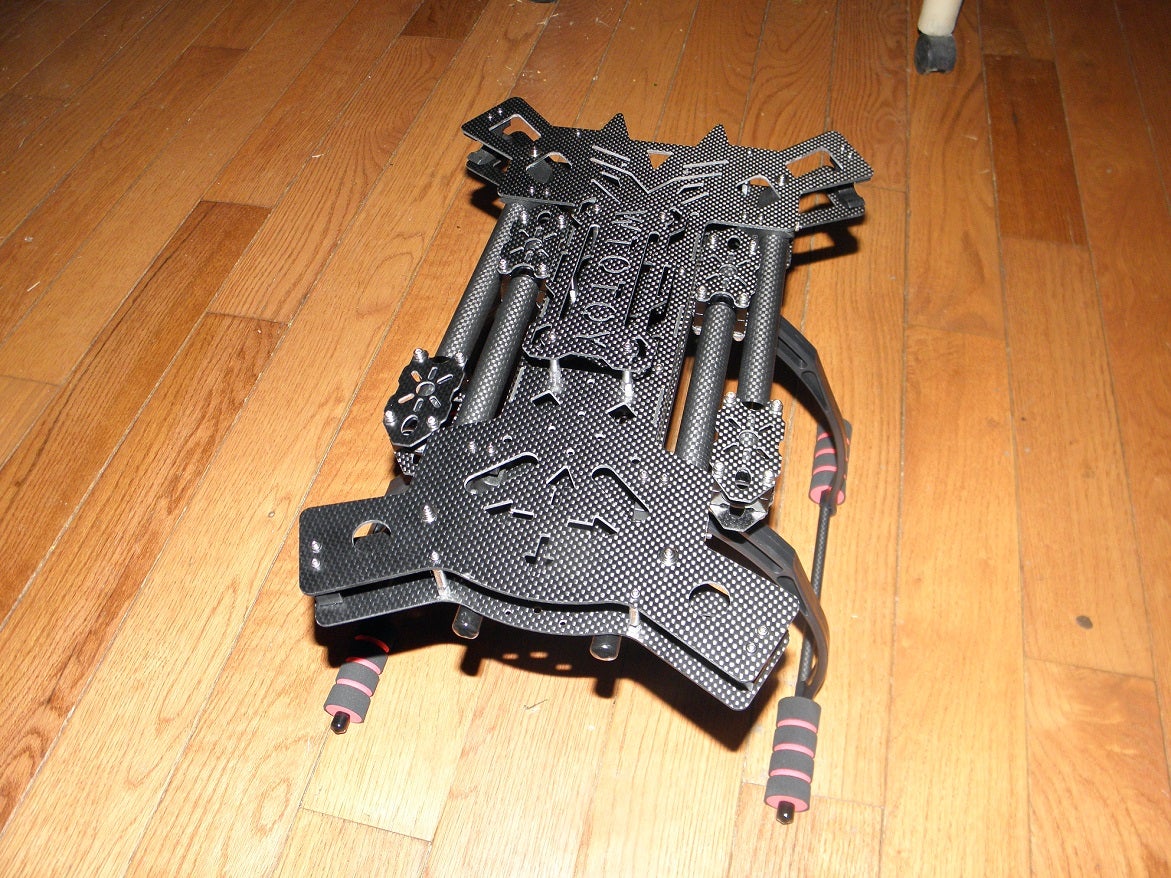
Gimbal Frame

http://www.ebay.com/itm/390937550571

2-axis to 3-axis conversion plate:

http://www.thingiverse.com/thing:396619

Gimbal yaw motor:

http://www.hobbyking.com/hobbyking/store/__55653__Quanum_2208_Precision_Brushless_Gimbal_Motor_GoPRO_size_100_200g_US_Warehouse_.html

Gimbal Roll & Pan Motors:

http://www.ebay.com/itm/271193164634

Controller Mounting plate: (Part from this: http://www.thingiverse.com/thing:666219)

http://www.thingiverse.com/download:1070501

Current firmware: (v0.65e)

http://www.rcgroups.com/forums/showpost.php?p=30910876&postcount=3788

Storm32 Wiki:

http://www.olliw.eu/storm32bgc-wiki/Main_Page

Storm32 Main Site:

http://www.olliw.eu/2013/storm32bgc/

3689639239?profile=originalFor anyone not familiar with the Storm32 controller the GUI gives you setup wizards for setup of motors, imu, Bluetooth and advanced settings to control Mavlink options for future development use with arducopter and such

Read more…

My New Frame For The APM

a6752179-201-P5090047.JPG?width=300Anyways I ordered a new frame for the apm

well after several weeks the wrong one arrived

although its not bad, I wanted the round center plate frame style as an alternative to the frame styles I own already

anyway here s a mockup for placement of the APM the apm will end up inside once I find my short usb extension so programming is easy

a6752181-2-P5090049.JPG?width=300a6754446-58-P5100061.JPG?width=300Extended

a6754465-25-P5100062.JPG?width=300

and finally folded

the one I wanted resembles a tarot 650 frame

I emailed goodluckbuy but don't see me paying to have this shipped back to wait two more months before I can use a frame

Read more…

My DIY Retract & Gimbal Mount


Test run using bamboo skewers to hold the retracts aligned in place

a6344218-6-a6344182-229-PC180117.jpg?width=388


a6344222-237-a6344164-165-PC180115.jpg?width=100


a6344223-71-a6344163-68-PC180112.jpg?width=150

a6344224-119-a6344166-13-PC180110.jpg?width=250

3689564309?profile=original

3689564232?profile=original

3689564272?profile=original


I've been working on this and decided I need to find someone to produce the main plate for mounting of the gimbal and servos, or at least a render file for me to find a fabricator at a reduced price

Unless I can arrange a group order for plates somehow


The design is quite simple and parts are easily found to build one, besides the mounting plate itself


It requires: 

2 - Retract servos http://www.hobbyking.com/hobbyking/store/uh_viewItem.asp?idProduct=23483

2 - Coax Connectors http://www.ebay.ca/itm/151079759256

2 - Coax Couplers http://www.ebay.ca/itm/321206494080

2 - 4mm diameter nails

2 - 12mm OD x 10mm ID 200mm Long Tubing http://www.ebay.com/itm/111176377084

Epoxy & CA Glue


Tools required involve Something to cut the nail & Tubing to the needed lengths

A hot air gun or something to heat the coupler to melt the inside and remove the centre pin Maybe a hammer or vice, A hacksaw

I started by heating & removing the centre from the couplers and inserted the nail while the coupler was still pliable inside

measured the needed nail after the coupler to replace the stock retract pins and cut the extra off

Made a notch in the nail shaft to match the set screws on the retracts

the tubes only involved epoxying the coax connectors in one end and cutting to the desired lengths

shaping the leg end to join the foot tube to provide a uniform joint with the curve of the foot tube


I used some spare aluminum tail tubes like these as my gear and epoxied them together to form the "T"

26" Double Horse Helicopter Tail Booms http://www.ebay.ca/itm/321102071864


The gimbal I'm using and designed the mounting holes from:

Gimbal Mount http://www.ebay.com/itm/171136254422

Gimbal Motors http://www.ebay.com/itm/121185850081

my idea is to make the top plate rubber anti vibe mount holes in the finished retract and gimbal plate thus the need for the top plate on the original gimbal mount will be omitted and the rubbers would be attached to the new plate instead


Read more…

APM External 10mm Leds Buzzer Module

I submitted final revision to oshpark for a board run today

the rest of the parts should arrive this week for the batch in production

3689543285?profile=original3689543205?profile=original


Here is a video of the prototype mockup:

The board consists of :

2x 10mm super bright 20ma red & blue led's
 1x 12mm 5v active 89db buzzer module
2x .5watt 330ohm resistors (or 220ohm)

It's also capable of taking smaller smd leds also as the pad/hole spacing matches most types (may require different resistors to correspond with led used)

 3689543304?profile=original

Read more…