here is an interesting article about drones and future uses -
http://www.thepunch.com.au/articles/this-is-your-pilot-speaking-im-not-on-board-right-now/
richie
here is an interesting article about drones and future uses -
http://www.thepunch.com.au/articles/this-is-your-pilot-speaking-im-not-on-board-right-now/
richie
So I thought I would get some close up shots and higher res video to show some of the finer details of the launcher. Like most things in this hobby it didn't go to plan as when i went to take off the Esc and Motor smoked themselves, so no launch, and after borrowing a friends motor found that he uses 4mm motor connectors and I use 5mm so no go there. Anyway here are some pics.
set and ready to go,
front pulley and release trigger.
Front legs and
Front Legs.
Ram about 1/4 out.
Front trigger about to release.
Trigger Realised.
regards Richie.
Today I christened my new plane launcher with success. I have built this as I have found the properties where I want to fly from have little or no adequate takeoff areas since the fields are full of waist high grass or lots of rough ground. Landing is OK by slowing down and dropping into the long grass but takeoff has been hazardous, to say the least.
The launcher is using an 900mm air ram to drive a 6:1 ratio pulley system that accelerates the launch trolley up the ramp. The ramp is made from 2 x 50mm x 25mm C sections welded together and bolted together in 2 x 3m sections that can be broken down for transport.
The trolley has a front wheel hold down that is released at the end of the ramp and hopefully this coincides with flying speed.
The speed is adjusted by altering the air pressure from the compressor. So far it is launching at approx 100 psi without ripping any wings off. As the compressor is rated to 150 psi it has some spare capacity for larger or heavy flying weights.
So far it costs about $300, the ram was an ebay special for $50. I sourced the pulleys from ebay by buying someone's unused gym weight machine, which has 125mm glass fibre pulleys complete with bearings (which to buy separately would have been $15-20 each.) I was also able to use some of the gym machine's steel for legs and some of the frame.
richie
OK, to explain, i finally got the autopilot sorted and installed in a test plane and all went according to plan, until the wing support failed on my manual flying back to land. what takes away the pain is that it wasn't in my full size plane, that I maidened last weekend successfully with 2 x 8 minute flights.
This was my first successful attempt at getting the APM to first stabilize and then circle RTL, it was on the 4th and now final flight that we were trying to fly to some way-points that I caused the plane to crash. lucky though the plane came down in the carpark (between the bmw and landcruiser) and the APM module seems to be intact, so bining a $60 plane was worth it.
Next stage is to get the next test plane happening before transferring to "richies UAV" ( i might have to give it a model name- maybe MARK I).
"Richies UAV" - Mark 1 in test flight mode. OK the cardboard on top looks rough, but it flew, next step is to make some covers and mount a camera.
Flight Control Box, FITPC2 - 12 Volt micro computer - running Win7Pro, with Samsung 19inch (model S19A450BW) runing on 12 Volt Dc 24AH Gel Cell, the computer uses 9 watts and the monitor about 19 Watts and is quite clear in daylight, and was the hardest thing to find that didn't use alot of power, I also looked at some 12inch screens from China but they did not have the screen definition to use as a computer monitor.
Richie
Armed with a remote-controlled helicopter nicknamed the "scientific predator", CSIRO scientists are circumnavigating Australia, documenting the tonnes of litter left or washed up on the nation's beaches and calculating the impact on marine life.
Read more: http://www.news.com.au/technology/eye-in-sky-filming-our-rubbish-shame/story-e6frfro0-1226280052411#ixzz1nJTfV0mf
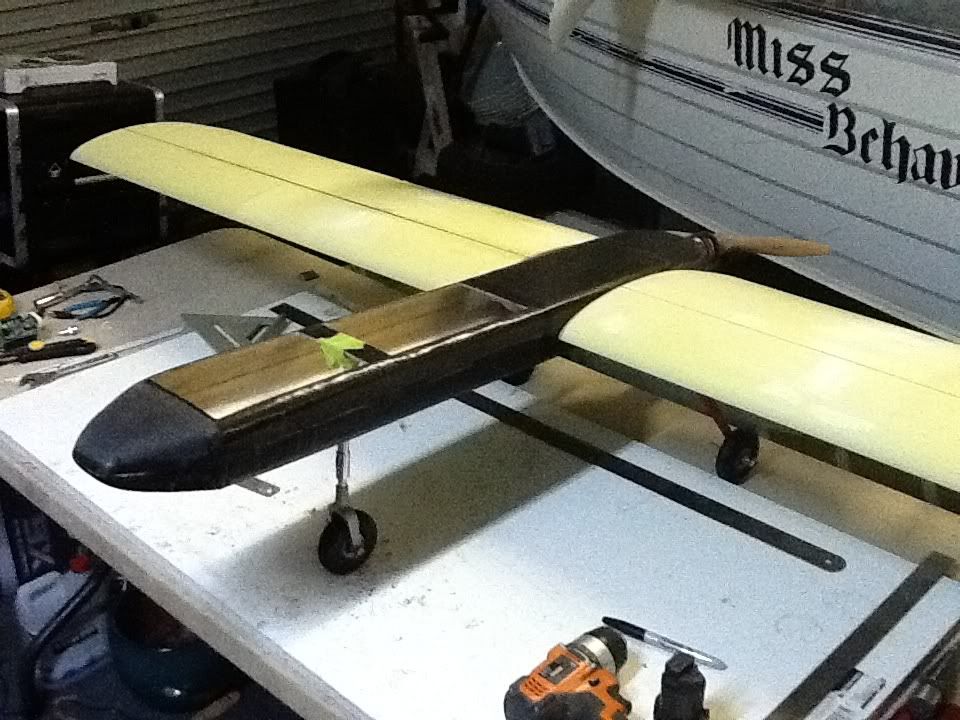
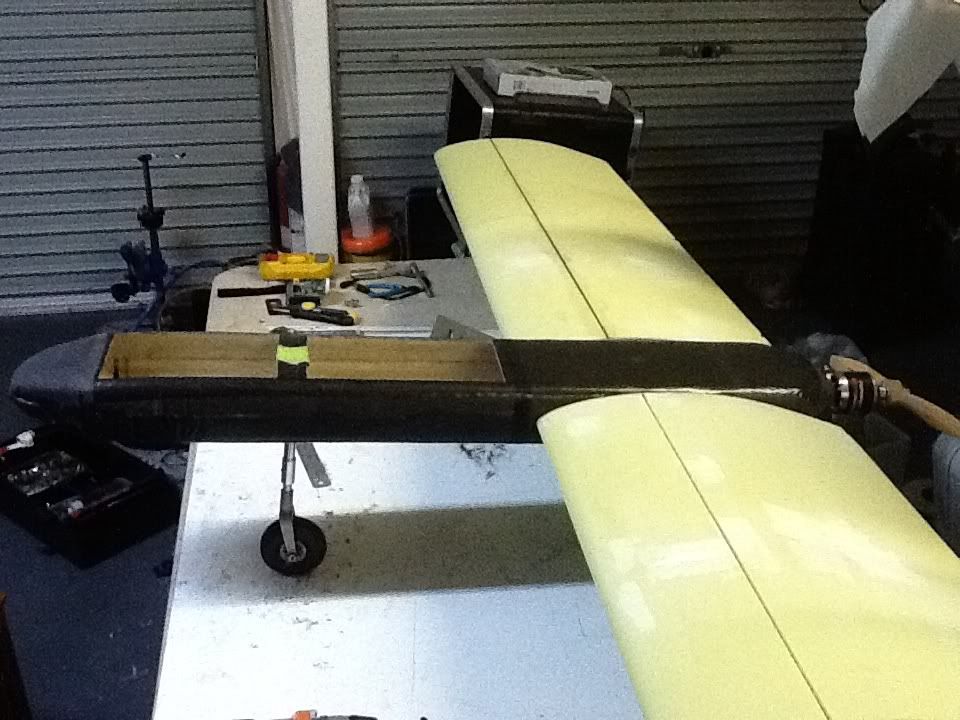
HI, I was busy at Christmas and didn't do anything on the Uav, so yesterday got into it and got the 2nd wing glued and mounted the rear wing tubes.
richie

 [IMG]http://i1228.photobucket.com/albums/ee451/runwin2/92695557.jpg[/IMG][IMG]http://i1228.photobucket.com/albums/ee451/runwin2/438844e8.jpg[/IMG][IMG]http://i1228.photobucket.com/albums/ee451/runwin2/7f13f927.jpg[/IMG]
ok, so home from dinner and ready to unwrap to see how it goes.
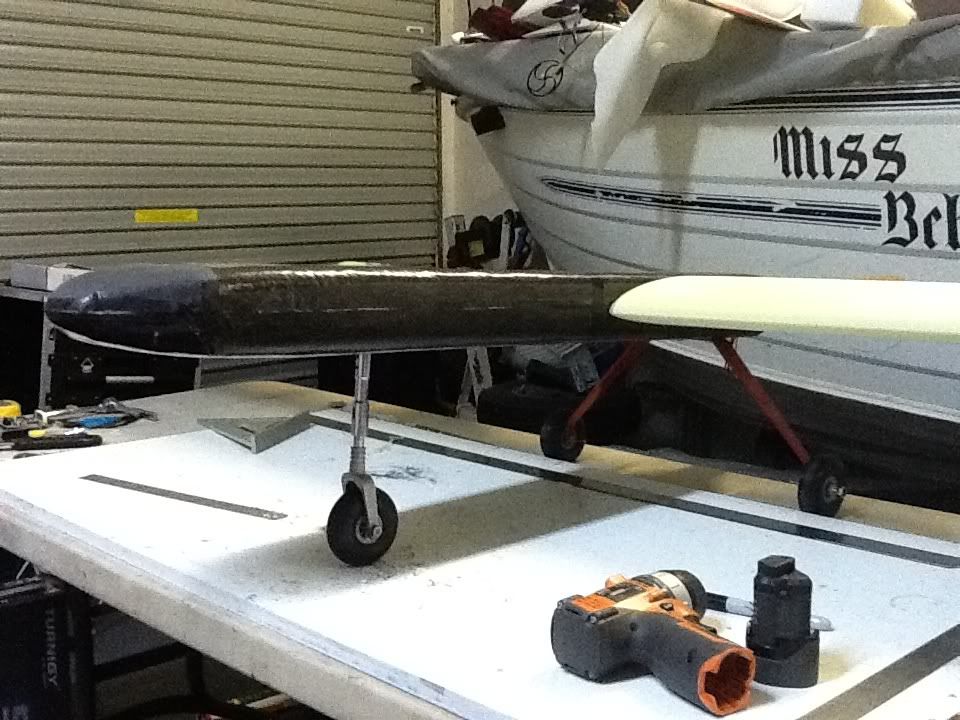
the good news is the cling wrap released from the wooden mold, and is actually very smooth on the inside, there are a few crinkles in the outer carbon, but these will not be noticeable once the excess is trimmed to size and glued to the 2nd half. the fuse is very rigid already from front to rear and twists side to side, but adding the other half should make it stiff in both directionsrichie
Here is the start of my fuse building, vacuum bagging the fuse in two halves and will add joiners and bulkheads to finish the fuse.
http://youtube.com/NNCjIadZWQo
The fuse is a composite layup with fiberglass 90 gram crossweave internal layer then a filler layer material (I forget the name of it) which acts like a filler to provide stiffness while not adding too much weight. It's sort of like having a layer of honeycomb. Then an outer layer of 100 gram straight weave carbon fibre. This is all held together with a marine 5+1 epoxy resin that takes about 6-9 hours to go off.
I have gone out on a limb and tried to pull a vacuum down onto a raw wooden plug that I have covered with a layer of cling film and then a layer of peel ply. Hopefully this will be removable in one piece without total destruction.
The other thing I am trying for the first time is using standard (cheap) acrylic sealant as a bag sealant. This has worked extremely easily, so far, and was a excellent way of sealing the plastic bag to the board. Hopefully it will clean off the board easily once the time is up and I remove the part from the mold.
started work on the fuse mold the other day and have been progressing through stages of filling and sanding to get the surfaces smooth before trying to layup the first vacuum bagged session.
expected wing size approx 2500mm, total flying weight 5 kg,
weight budget -
motor 400 grams
battery 1250 grams
wing 1000 grams
fuse 500 grams
payload 1000 grams
autopilot rx, tx, 500 grams
flight times ???
First flight today in full manual mode with a brief session on stabilization mode. Plane: Slowstick - short wings, spinning 8x8 carbon prop, rudder elevator only.
Autopilot: Ardupilot mounted on stick in box from Bask Aerospace.
Ground Station: APM uploaded lastest firmware and using xbee link for comms to laptop.
Flight Report: Like all good flights it went well until the plane flipped onto its back and then I throttled back and waited for the hard landing / crash. Slowstiks are not good inverted is all I have to say not possible to recover from low altitude as I was setting up for a landing.
Flight Data: Mavlink worked well, captured data plays back on APM planner.
Things to do Now: will investigate flight data to see if it was an autopilot input or just the wind.
Satisfaction Factor: 7/10
richie
Picture above: Wind Tunnel Testing anyone? its not really for my planes but I get to work on some interesting stuff - I own and run a test laboratory here in brisbane.