
All Posts (14054)
Sort by


I get this question all the time: what's a good plane to turn into a UAV? The answer is that it depends on your needs, your budget and your RC skills. But here are some good electric candidates:
For RC beginners:
The NextStar (see above) is roomy, slow-flying and comes with everything you need (including a RC flight simulator). It even has its own rudimentary flight-stabilization system with a Futaba PA-2 optical co-pilot.
For DIY'ers on a budget:
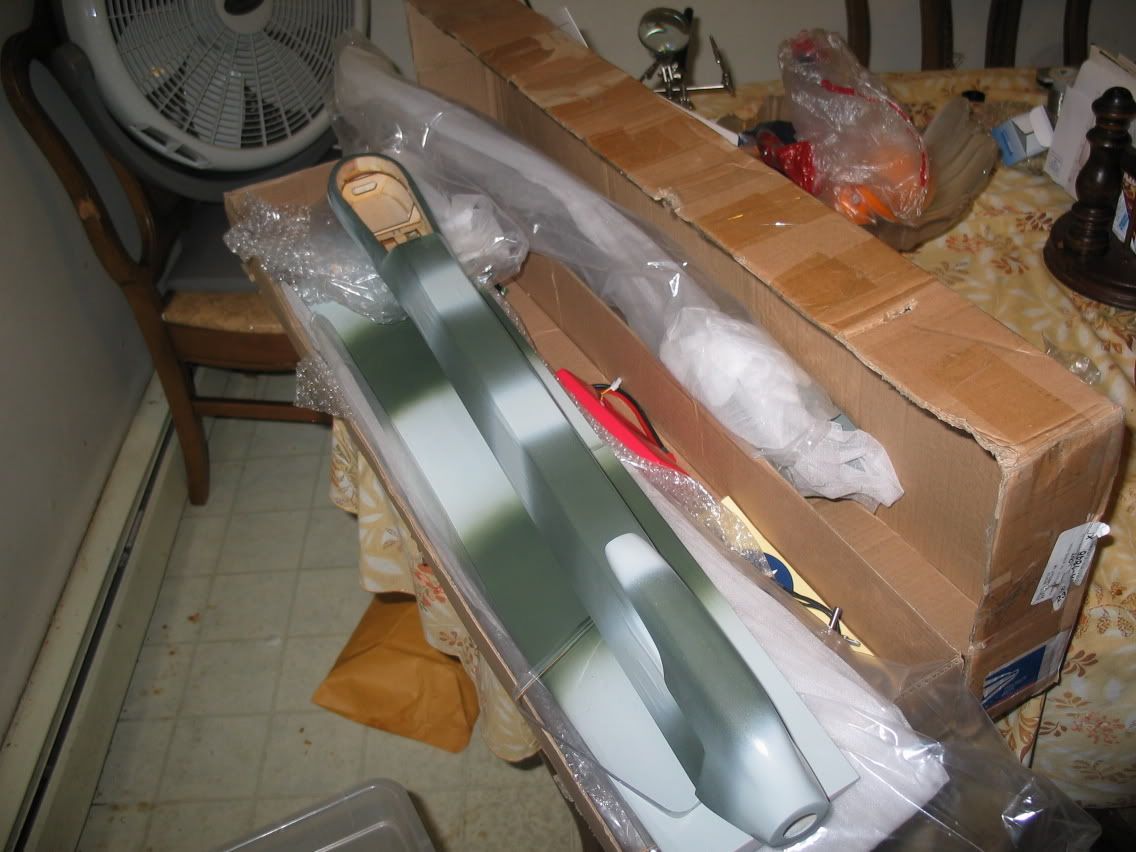
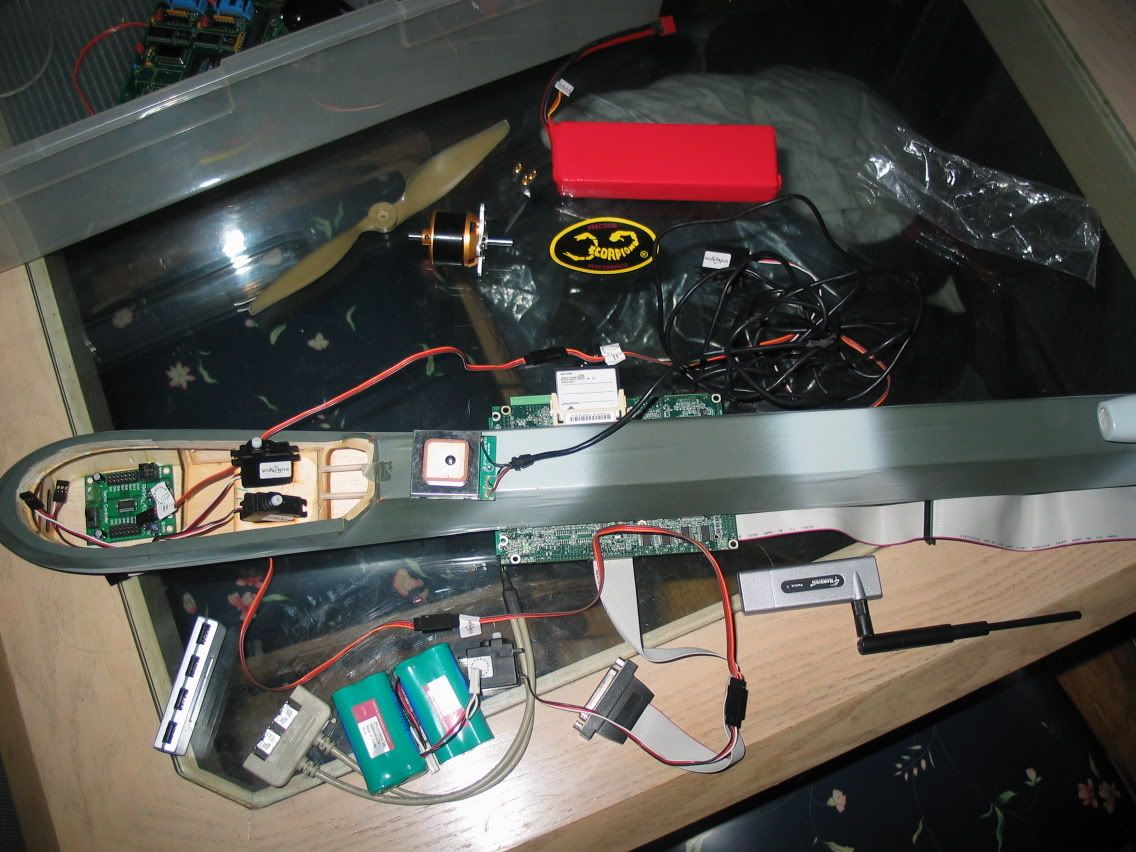
The $110 SuperStar is a nice-flying four-channel plane with enough room for an autopilot and cameras strapped below. The ARF kit comes with a brushed motor and NiCad batteries, which are enough to get you started. When you're ready, you can upgrade to a brushless motor and LiPos. This is the plane we use for GeoCrawler 2 and will also be the basic platform for our ArduPilot-based UAV. You can hand launch it in a park, or take it off from a runway at an airfield. It's tough and can handle wind. All and all, a really comfortable plane to work with, especially once you upgrade the motor and battery.
[Note. This plane appears to be discontinued. You might want to check out the NexSTAR Mini EP as a replacement. It's not quite as good, as it's more expensive and has less interior room, but it does the trick]
For those looking for long flight times:
The Aero-Master is a powered glider with a pusher prop, which means no propellers in the way of your cameras. This is the aircraft used by Marcus UAV.
For those who want to carry heavy, high-resolution cameras, with unobstructed views:
[This one appears to no longer be available, although a larger gas-powered one still is]
For an all-around great first UAV platform:
EasyStar. The classic. Easy to fly, hard to break and plenty of room for electronics. Works best with a brushless motor upgrade.
An even cheaper variation on this, with the helpful addition of ailerons, is the Dynam HawkSky. Well worth considering as an EasyStar alternative,.
This is just the coolest thing. It's not exactly UAV-related, but our FPV (first-person view) friends use much of the same technology as we do, from real-time video links to on-screen displays (OSD) of GPS and telemetry data. Here's what one FPV guy did to avoid having to have an electronic integration of his telemetry into his video stream: he built an analog instrument panel and put it in view of his onboard camera!
Behind that panel is a GPS and an embedded processor (I don't know what kind) which is presumably driving three servos, which move those dial needles. The reason you need this is that it's really easy to get disoriented and lost when doing FPV, with those video google on and the birds-eye view of your location. Now he just needs to "glance at his instrument panel" through his video googles and he can see (from left to right) his speed, bearing (straight up means he's heading back to home) and altitude. His write up of how he made it is here. Full points for creativity!
(Thanks to the Make Magazine blog for the find)

- I've updated the parts list in the original post to reflect our recommended configuration (with pigtails rather than right-angle servo and RC receiver connectors)
- The GPS connector doesn't have as robust a physical connection to the board as we'd like (we need to tweak the board to give it a little more room). If you're using this board, you might want to epoxy it on before soldering its electrical connections.
- We accidentally designed this board with a surface-mount reset button, when the reset button that comes with the Boarduino kit that we use for parts is through-hole. I've listed the surface-mount part you need in the original post, but we'll tweak the board to use the through-hole version in the future.
- Use the jumper that comes with the Boarduino kit to bridge the power selector pins (top left corner in the photo above) for the option you want: power from the RC receiver or another source. I use the RC receiver and it works great, but if you want power redundancy you may want to go with a second battery just for the autopilot.
On May 10th we attempted our first bottle drop from 400 feet. The bottle had an aluminum tab attached to it which was held by small servo at the center of gravity of the UAV. We took off under manual control and gained altitude, as the UAV flew it’s oval path autonomously, the bottle was released over the field. The first bottle we dropped was a 500mL Nalgene bottle, which failed miserably (see picture below).

With the water bottle attached, the flight characteristics were not affected, although takeoff distance was increased, the autopilot’s ability to control the UAV was not affected noticably. During these flights the winds were relatively high, ranging from 10 to 15 MPH, which made navigation for the UAV difficult, but the autopilot performed admirably. Though at times it was blown off the path, it returned quickly to the intended flight path. Several autonomous test flights were performed in the windy conditions, further demonstrating the robustness of our UAV platform.

Three more test flights were performed on May 15th, all of which included water bottle drops with different bottle designs that took into account lessons learned from the first test. Enclosures were developed for subsequent bottles that allowed them to survive the 400-foot drop. Data was also gathered about where the bottles landed and at what point they were released. With this data the theoretical and actual horizontal distance traveled were compared. After analysis it turned out that the horizontal distance traveled from two of the drops was consistent, this allowed a simple model to be developed for the trajectory of the bottle. During the final flight, aerial video of the bottle being released was also obtained from the onboard digital camera (see the video below).These test flights provided valuable data about how the bottle’s trajectory is affected by the wind resistance, as well as about how the UAV platform handles moderate winds. The next crucial step will be to integrate the onboard computer along with the camera into the aircraft to allow testing of the system as a whole.
For more visit: www.aessuav.org
The new SMD board is the smaller one on the right of the picture above, shown with the previous through-hole BlimpDuino board for comparison. As you can see, it's about 30% smaller. As noted in the earlier post, it has several significant improvements over the previous board, including:
- Two dedicated RC channel input ports, so you can easily fly in RC mode (for testing) or autonomous mode.
- A new power supply that can handle anything from 3V to 18v and output both 3.3v and 5v. This will allow you a range of battery options, from 2 or 4 AAAs (cheap) to a 7.4v Li-Po (expensive).
- Includes a port for a servo, for the vectoring thruster
- Includes ports for a Bluetooth wireless module and a magnetometer (compass)
Here's the bottom view of the two boards (new one is on the bottom):
- comprehensive target support
- powerful and user-friendly IDE
- ANSI C compiler
- optimizations
- assembler / linker
- debugger support
- libraries
- documentation
- third party tool support
- technical support
- (Additional features, debugger information, etc. listed below)
- uses Large Memory Model (LMM) to bypass 2K byte limits of Cog code
- typically 5 to 10 times faster than Spin
- access Propeller multiprocessing and other Propeller specific features in C
- write native assembly code and launch it in another Cog for high performance driver
- built-in terminal
- support for Parallax's Propellent DLL for program downloading
- Include libraries such as ASyncIO, VGA Text, etc.
We've enjoyed watching the development of Stanford's STARMAC II quadcopters, and this video does a good job of showing why: the 6 vehicles are light, incredibly accurate in both GPS and ultrasonic position sensing, and robust.